Table of Contents
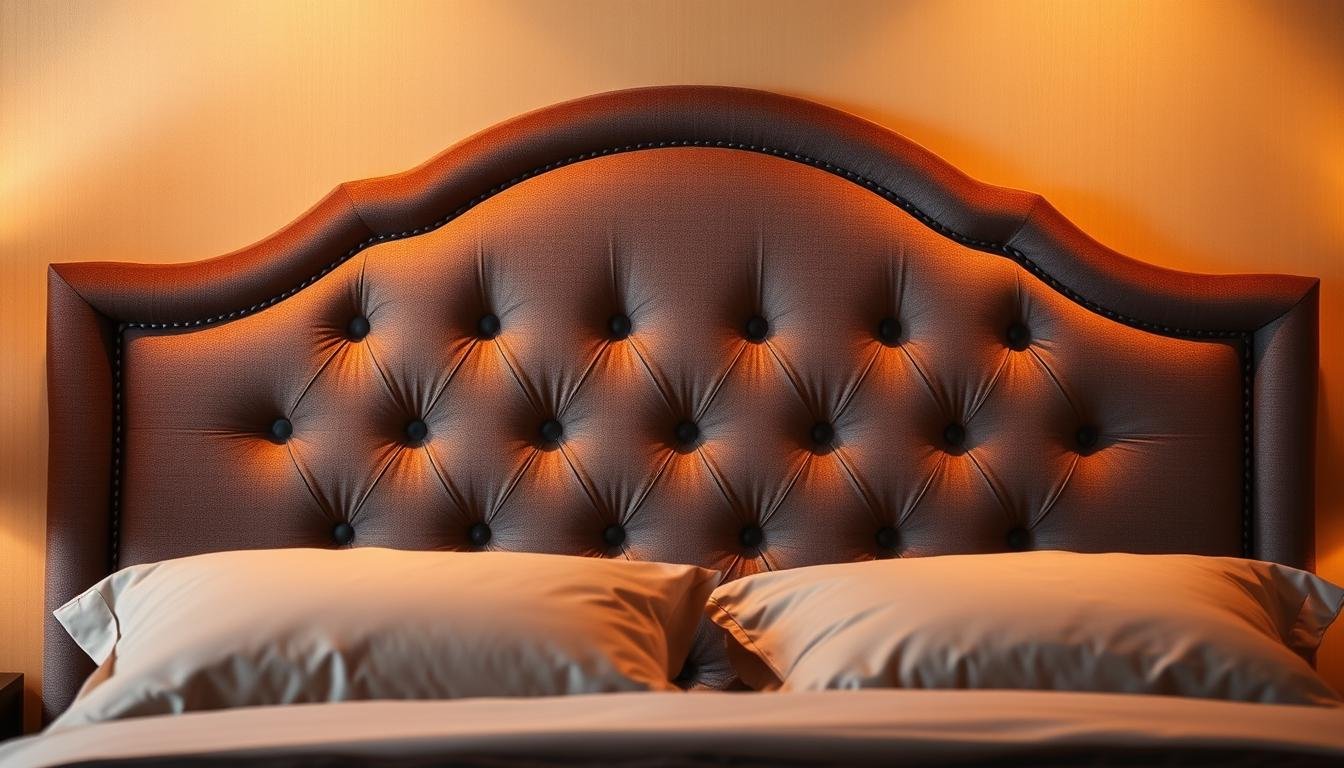
Want to give your bedroom a high-end makeover without breaking the bank? A stylish upholstered headboard can instantly elevate your space. With just basic tools and a little creativity, you can achieve a designer look for under $100.
This simple project works for any bed size—queen, king, or even a cozy daybed. Best of all, it takes just one day to complete, making it perfect for beginners. Choose fabrics that match your style, from sleek neutrals to bold patterns.
Gather Your DIY Headboard Supplies
Gathering the perfect supplies is the first step to a flawless finish. Whether you prefer a plush, padded look or a sleek modern design, the right fabric and framing materials will make all the difference. Here’s everything you’ll need to bring your vision to life.

Essential Materials
Choose between two sturdy framing options: plywood or a lightweight pine frame. A 1/4″ plywood sheet offers durability, while 1×2 pine boards with a Kreg jig create a lighter alternative. Pair either with upholstery-weight fabric to prevent sagging.
For padding, batting comes in single or double layers—thicker layers add extra plushness. A heavy-duty staple gun secures everything tightly, and an 18″ OOK Hangman french cleat holds up to 200 lbs for secure wall mounting.
Budget Breakdown
This project costs a fraction of retail prices. Here’s the breakdown:
- Fabric and batting: $70 (Richloom or Dracon brands)
- Plywood: $15 (pre-cut at Home Depot)
- French cleat: $13
Total: under $100 vs. $200+ for store-bought versions.
Fabric and Batting Tips
Opt for medium- to heavy-weight fabric like linen or twill—they’re durable and wrinkle-resistant. For batting, polyester blends are affordable and easy to work with. Double layers add luxury but require extra staple gun tension.
Shop smart: Home Depot cuts plywood to size, and Amazon offers endless fabric options. With these supplies, you’re ready to build a custom piece that elevates your bedroom.
Step-by-Step: How to Upholster Your Headboard
Transform your bedroom with a custom upholstered piece in just a few simple steps. From securing batting to mastering corners, this guide ensures a seamless finish.

Step 1: Secure the Batting
Lay the batting flat over your frame, leaving a 2–3″ overhang on all sides. Smooth out wrinkles to prevent lumps—a double layer adds luxury but requires extra tension when stapling.
Work from the center outward, pulling taut as you staple every 4 inches along the back. Trim excess for clean edges.
Step 2: Attach the Fabric (Corners Made Easy!)
Center your fabric over the batting, right side down. Start stapling along the long edges, keeping tension even. For corners, fold like a wrapped gift: tuck excess under for a crisp seam.
Pro tip: Align stripes vertically by measuring twice before stapling. Adjust tension to avoid sagging.
Step 3: Finishing Touches
Inspect for loose spots and restaple if needed. Add nailhead trim or piping for a designer touch. Mount with a french cleat for sturdy support.
Your custom creation is ready to elevate your bedroom—no sewing required!
Hanging Your Headboard Like a Pro
Mounting is key for a flawless, long-lasting result. Whether you’re using a sturdy plywood base or a lightweight frame, proper installation keeps your piece secure and level. Follow these methods to avoid wobbles or wall damage.

French Cleat Method
For heavy designs, a french cleat offers unbeatable support. First, mark the wall studs with a stud finder. Align the cleat’s top piece to the studs and screw it in.
Attach the matching cleat to the back of your frame. Lift and slide it onto the wall-mounted piece. Pro tip: Use a level to ensure straight alignment before tightening screws.
Alternative Mounting Options
Lightweight frames? Try picture nails in studs. Hammer two nails at a slight upward angle to hold the piece snugly. For renters, adhesive strips or a freestanding setup work as temporary fixes.
Uneven walls? Slide shims behind the frame to balance gaps. Daybeds benefit from wraparound brackets for extra stability against the wall.