Table of Contents
Giving your space a fresh look doesn’t have to break the bank. A simple update can make a huge difference—especially when it comes to kitchen cabinets. Sherwin-Williams experts agree that refinishing them is a smart, budget-friendly alternative to full replacements.
Dennis Fiorilli from Sherwin-Williams highlights how paint can modernize without demolition. The average cost for professional cabinet replacement? Between $5,000 and $15,000. A DIY refresh? Under $1,000. That’s 90% savings for stunning results.
Worried it’s too ambitious? With the right supplies and techniques, anyone can achieve a smooth, long-lasting finish. Deep hues like Thunderous SW 6201 add drama, while quality tools prevent brush marks.
Ready to transform your space? Let’s dive into the details for a flawless, professional look.
Why Painting Your Kitchen Cabinets Is Worth It
A stunning home upgrade doesn’t require a full remodel. Refinishing your space with a fresh coat delivers professional results at a fraction of the cost. Stephanie Calderon Interiors swears by oil-based enamel for its stain resistance—proof that quality lasts.

Cost-Effective Transformation
Compare a 6-week renovation to a 48-hour refresh. Dark oak cabinets become modern with Gallery Series Waterborne Topcoat, saving thousands. One homeowner shared, *”Our 1990s space looks brand new for under $500.”*
Instant Style Without the Mess
Skip the dust and debris. Chalk paint adds farmhouse charm without stripping old finishes. Trending shades like Sherwin-Williams’ Upward (2024 Color of the Year) keep your look current. The secret? A smooth finish hides flaws effortlessly.
Can You Paint Kitchen Cabinets Yourself?
Tackling a home improvement project yourself can be rewarding—if you plan well. Whether you’re a seasoned DIYer or a first-timer, success hinges on two things: your skill level and available resources.

Assessing Your DIY Skills
Honesty is key. If you’ve handled brushes before, you’ll adapt faster. Beginners should practice on scrap wood first. Pro tip: Oil-based enamel requires precision but lasts longer.
Time and Space Considerations
You’ll need a 10’x10′ area for drying doors. No garage? Batch-paint smaller sections. Humidity slows drying by 50%, so check the forecast.
| Factor | Impact | Solution |
|---|---|---|
| Workspace Size | Minimum 2 sawhorses + 4′ table | Use a spare room or driveway |
| Drying Time | 3 days prep, 2 days painting | Add box fans for airflow |
Patience pays off. Rushing leads to streaks or uneven coats. Plan for a week if weather’s unpredictable.
What You’ll Need to Paint Kitchen Cabinets
Quality supplies are the foundation of a professional-looking refresh. Whether you’re a DIY enthusiast or a first-timer, having the right tools ensures smooth, long-lasting results.

Essential Tools and Materials
Start with these basics:
- High-quality brushes: Synthetic bristles for latex, natural for oil-based.
- 220-grit sandpaper: For smoothing surfaces between coats.
- Painter’s tape: Protects edges and hardware.
Choosing the Right Paint and Primer
Not all paints are equal. Here’s how top brands compare:
| Product | Best For | Dry Time |
|---|---|---|
| Sherwin-Williams Gallery Series | Durability, smooth finish | 6 hours |
| Benjamin Moore Advance | Scratch resistance | 7 days (full cure) |
Primer showdown: Zinsser BIN (alcohol-based) excels at stain blocking, while KILZ Original tackles grease. For sheens, semi-gloss resists wear; matte hides imperfections.
How Much Does Painting Kitchen Cabinets Cost?
A budget-friendly makeover starts with smart planning. Whether you hire a pro or DIY, understanding expenses ensures a flawless finish without overspending.

DIY vs. Professional Costs
Going the DIY route? Home Depot’s *paint* runs $53/gallon, covering 35 cabinet *doors*. Add primer, brushes, and sandpaper, and you’ll stay under $300.
Pros charge $3,000–$5,000 but handle prep and cleanup. For tight budgets, DIY saves 85%. One homeowner noted, “We spent $200 and got compliments for months.”
Budgeting for Supplies
Smart shopping stretches your dollars:
- Buy extra: Grab 10% more for touch-ups.
- Bulk deals: 5-gallon pails cut costs by 15%.
- Use leftovers: Interior sections hide with wall paint.
Keep receipts—unopened cans often qualify for returns. With these hacks, a high-end look costs less than a weekend getaway.
Prepping Your Cabinets for Paint
Skip prep, and your hard work could peel away in months. Make sure every step—from disassembly to degreasing—is done right. A rushed job leads to bubbles, streaks, or worse: paint that chips when you least expect it.

Removing Doors and Hardware
Start by labeling each door and hinge with painter’s tape. Use a numbered system (e.g., “A1” for upper left) to avoid confusion later. Here’s how:
- Unscrew hinges: Keep hardware in labeled bags.
- Lay doors flat: Use sawhorses to prevent warping.
- Protect interiors: Cover shelves with drop cloths.
Cleaning and Degreasing Surfaces
Decades of cooking grease lurk on surfaces, even if they look clean. TSP (trisodium phosphate) cuts through buildup like nothing else:
- Mix ½ cup TSP per gallon of warm water.
- Scrub with grain: Circular motions leave micro-scratches.
- Rinse thoroughly: Residue prevents paint adhesion.
For a milder option, Krud Kutter works well. One homeowner learned the hard way: “I skipped degreasing, and my paint peeled within weeks.” Let everything dry for 2+ hours before sanding.
Repairing Damage Before Painting
Small imperfections can ruin an otherwise flawless finish—fix them now for lasting results. Even tiny scratches or dents become obvious once color is applied. A little prep work ensures your hard work pays off.

Filling Holes and Scratches
Start with a wood filler for deep gouges. Apply it with a putty knife, then scrape off excess. For shallow marks, lightweight spackle works wonders. Pro tip: Let repairs dry overnight for maximum hardness.
Sanding for a Smooth Surface
An orbital sander saves time. Begin with 120-grit paper to level filler, then switch to 220-grit for a smooth finish. Remember:
- Light pressure: Let the tool’s weight do the work.
- Dust control: Pair a shop vac with a HEPA filter.
- Hand sanding: Use contour grips for detailed moldings.
One DIYer warned, “I sanded through veneer and spent $200 fixing it.” Always check progress frequently. Finish with a tack cloth to remove invisible dust.
Priming Your Cabinets Like a Pro
Primer is the unsung hero of any professional refinishing job. It seals surfaces, blocks stains, and ensures your topcoat adheres perfectly. Without it, even the best paint can peel or yellow over time.

Why Primer Matters
Think of primer as a double-sided tape for your paint. It bonds to raw wood or old finishes while creating a uniform base. Dark stains? A tinted primer prevents bleed-through. Greasy spots? Oil-based formulas lock them in.
One DIYer shared, “I skipped primer on my first try—the paint bubbled within weeks.” Don’t make the same mistake.
How to Apply Primer Evenly
Start with a 2″ angled brush for edges and corners. For large panels, a ¼” foam roller delivers a streak-free finish. Use the “lay off” technique: lightly drag tools in one direction to smooth marks.
| Primer Type | Best For | Dry Time |
|---|---|---|
| Zinsser BIN | Stain blocking | 30 mins |
| KILZ Original | Greasy surfaces | 1 hour |
Let each coat dry for 4 hours. Tint the primer to match your final color—it cuts down on extra topcoats. Coverage? One gallon handles 300 sq ft, roughly 30 cabinet doors.
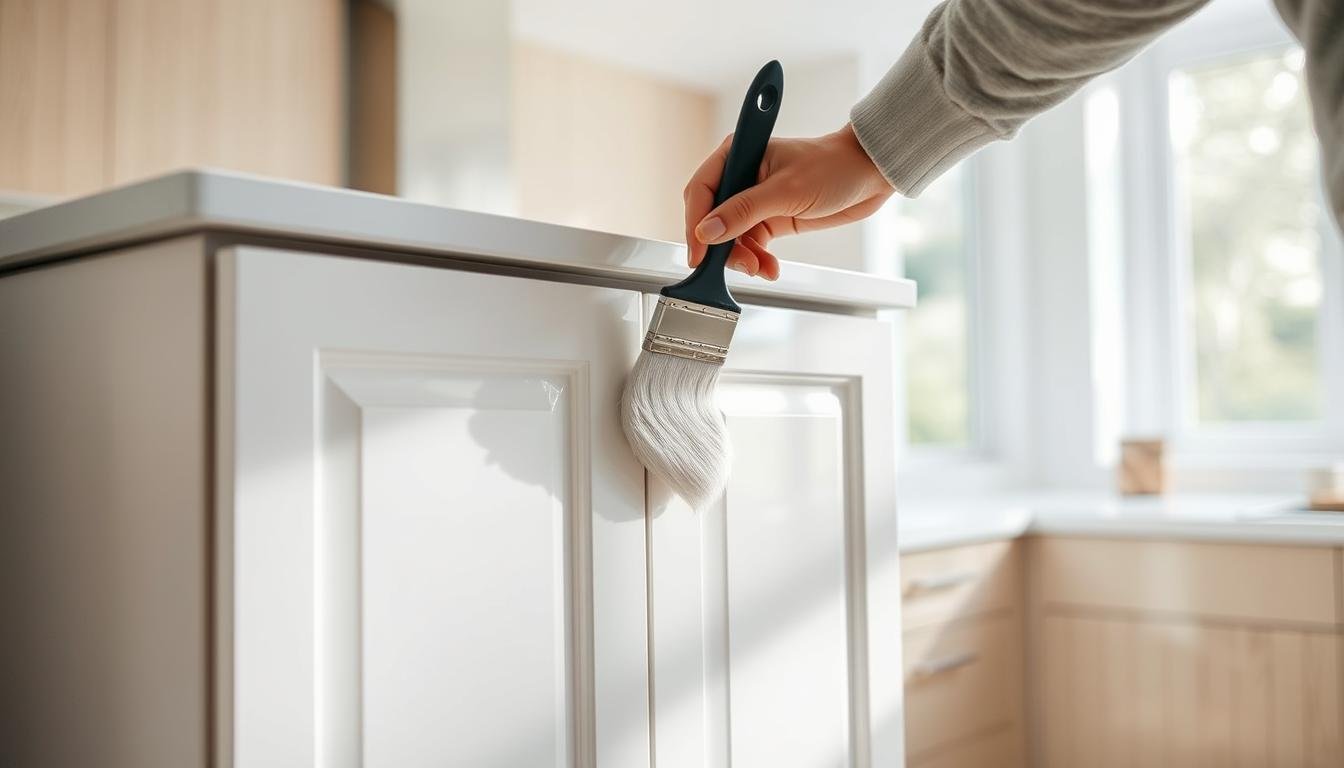
How to Paint Kitchen Cabinets for a Smooth Finish
The secret to professional results lies in your application method. Whether you’re using a brush or roller, technique matters more than tools. A little patience goes a long way toward a flawless look.
Brush vs. Roller Techniques
For edges and details, a 2″ angled brush works best. Hold it at a 45-degree angle and use Sherwin-Williams’ feather-tipping method—light, overlapping strokes. Rollers? Opt for a ¼” foam sleeve for large panels.
Always wipe excess paint on the tray edge. Too much product causes drips. One DIYer learned the hard way: “My $200 sprayer left an orange peel texture—I had to sand it all off.”
Avoiding Drips and Streaks
Work lights reveal imperfections as you go. Spot a drip? Let it dry, then sand with 400-grit paper. For a smooth finish, maintain wet edges and avoid overworking the same spot.
- Load smart: Less is more—build thin layers.
- Dry fully: Rushing leads to tacky surfaces.
- Fix fast: Sand errors before the next coat.
Applying the Second Coat for Durability
A second coat isn’t just extra work—it’s your secret weapon for longevity. 3M research shows 1.5 mil thickness maximizes resistance to scratches and stains. But timing and technique matter as much as the product itself.
When to Recoat
Check the label: most paints need 4–6 hours between coats. Humidity? Add 50% more time. Test with a fingernail—if it leaves no mark, you’re good. One homeowner learned the hard way:
“I rushed the second layer, and it peeled like sunburn.”
Ensuring Full Coverage
Use these pro tricks for flawless results:
- Light test: Shine a flashlight at 45° to spot thin areas.
- Edge focus: Hinges and drawer slides need extra attention.
- Less is more: The second coat uses 20% less product.
| Paint Type | Recoat Window | Ideal Thickness |
|---|---|---|
| Water-based | 2–4 hours | 1.2–1.5 mil |
| Oil-based | 6–8 hours | 1.5–2 mil |
For mirror-like reflectivity, sand lightly with 400-grit between layers. Patience pays off—your surfaces will look pro-grade for years.