Table of Contents
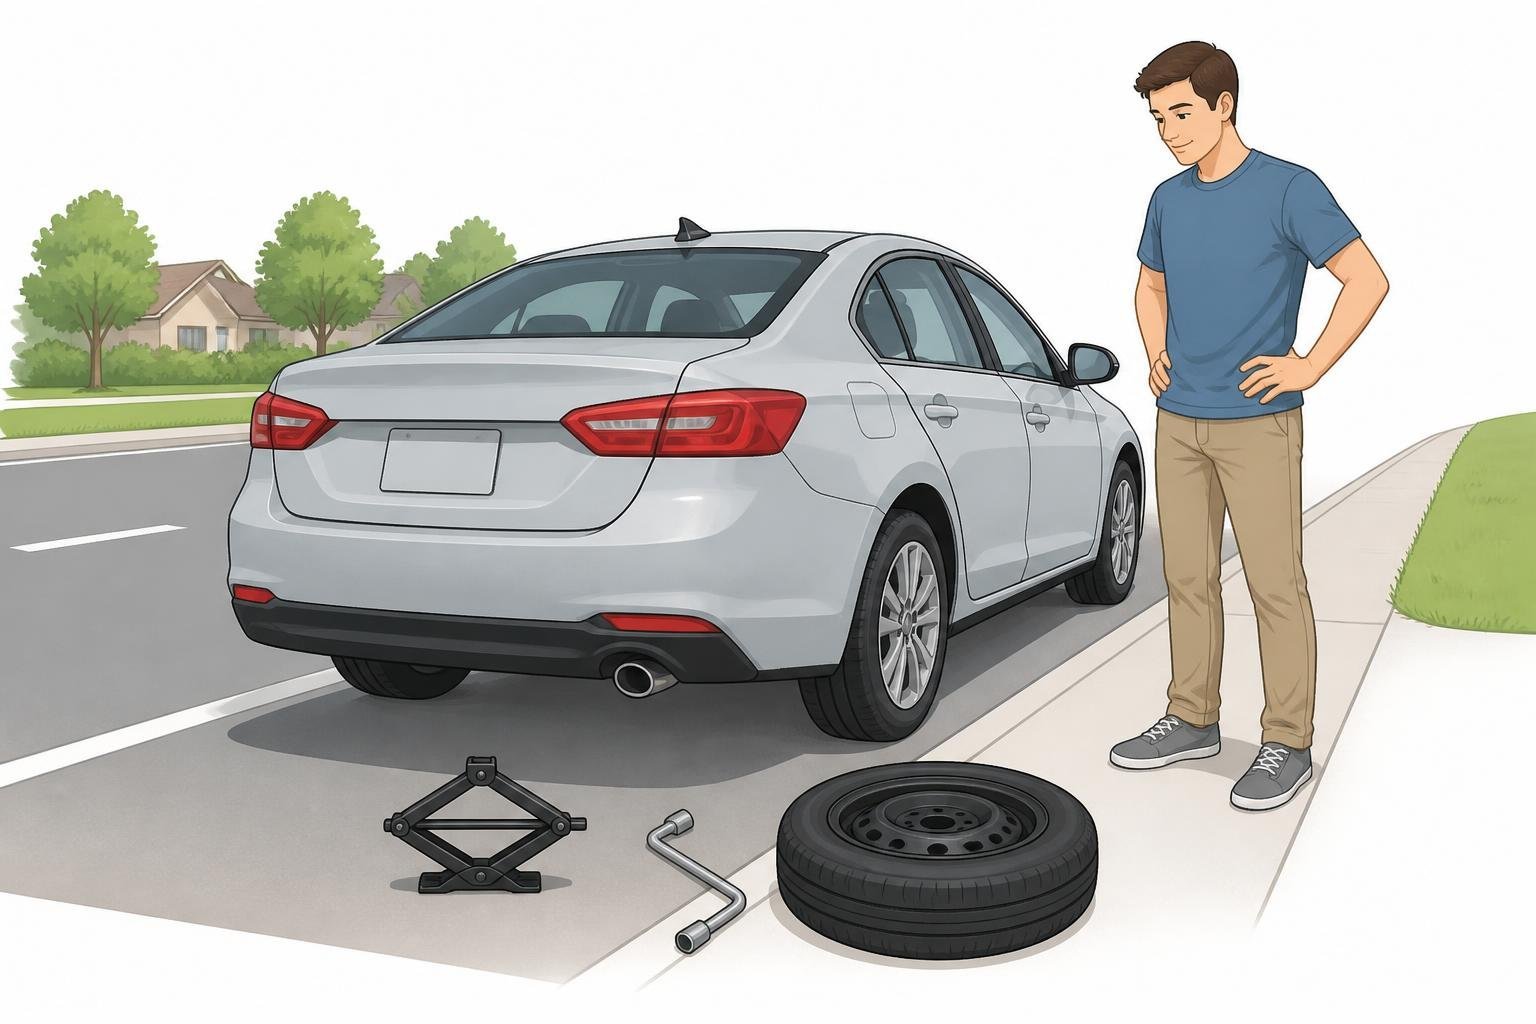
You’re on the highway, you hear that unmistakable thump-thump-thump, and your stomach drops. Flat tire. You pull over, heart rate climbing, wondering if you actually know how to handle this.
Most people don’t — at least not with any confidence. A 2023 survey found that nearly 60% of drivers have never changed a tire on their own. And yet it’s one of the most practical skills you can have. No waiting an hour for roadside assistance. No $100 tow. Just you, a spare tire, and about 20 minutes.
Here’s exactly how to change a tire, step by step, whether you’ve done it before or this is your first time.
What You Need Before You Start
Before you ever get a flat tire, check that your vehicle has everything required. Pop your trunk and confirm these are actually there — don’t assume.
The essentials:
- Spare tire (inflated — yes, check this periodically)
- Jack (usually stored under the trunk floor or under the vehicle)
- Lug wrench
- Vehicle owner’s manual
Nice to have:
- Reflective triangles or road flares
- Flashlight or headlamp
- Rain poncho
- Gloves
- A piece of wood or flat board (to stabilize the jack on soft ground)
Your spare tire is probably a compact “donut” spare, not a full-size wheel. That’s fine for getting to a shop — but don’t drive it longer than 50–70 miles or faster than 50 mph.
Step 1: Get to a Safe Location
The second you feel or hear a flat tire, don’t panic and don’t brake hard. Grip the steering wheel firmly, ease off the gas, and steer toward the shoulder or an exit.
Where you park matters more than people realize.
Ideal: a flat, level surface — a parking lot, a wide shoulder, a side street. Bad: a hill, a curve, or anywhere you’re close to moving traffic. You want to be as far away from traffic as possible. A level surface keeps the vehicle from rolling and makes the jack work properly.
Once you’re parked:
- Turn on your hazard lights immediately
- Apply the parking brake
- Place reflective triangles or flares behind the vehicle if you have them — at least 10 feet back, ideally 100 feet on a highway
If you’re on a freeway with no safe shoulder, stay in the car with your seatbelt on and call for help. No tire change is worth getting hit.
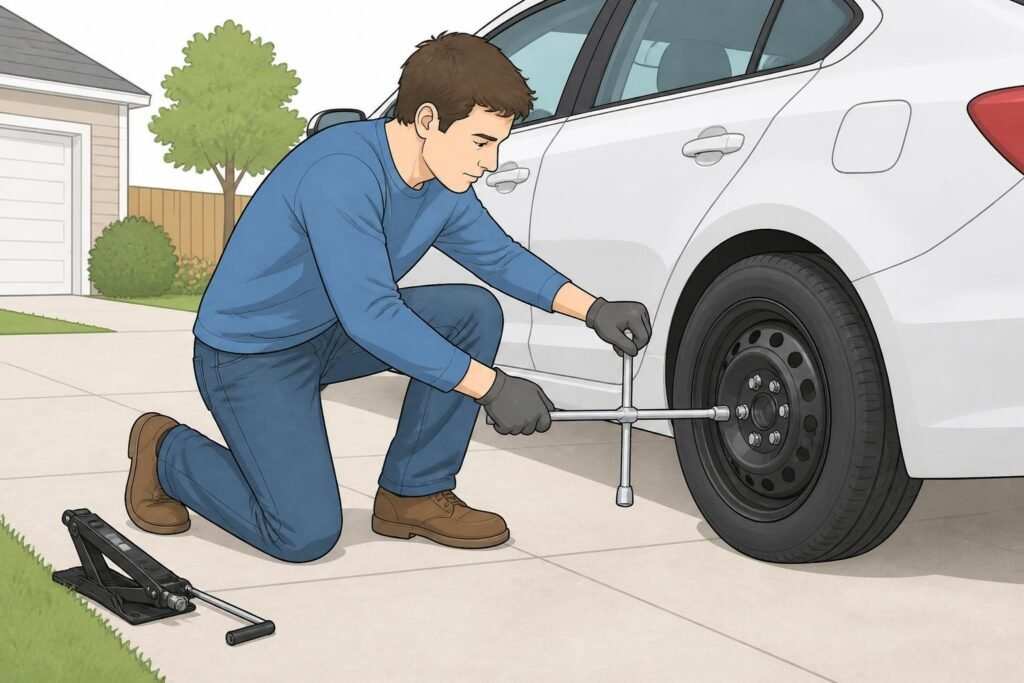
Step 2: Loosen the Lug Nuts Before You Jack the Vehicle
This step trips up a lot of first-timers. Most people jack the car up first, then try to loosen the lug nuts — and the wheel just spins. Do it the other way around.
While the flat tire is still on the ground:
- Remove the wheel cover or hubcap if there is one. Use the flat end of your lug wrench to pry it off.
- Fit the lug wrench onto the first nut and turn counterclockwise.
- Break each nut loose — just enough that it’s no longer tight. One half-turn is enough for now.
- Work in a star pattern (not a circle) so the wheel doesn’t warp.
The lug nuts may be stiff. If they won’t budge, stand on the wrench with your foot and use your body weight. That usually does it.
Don’t remove the nuts yet. Just loosen them.
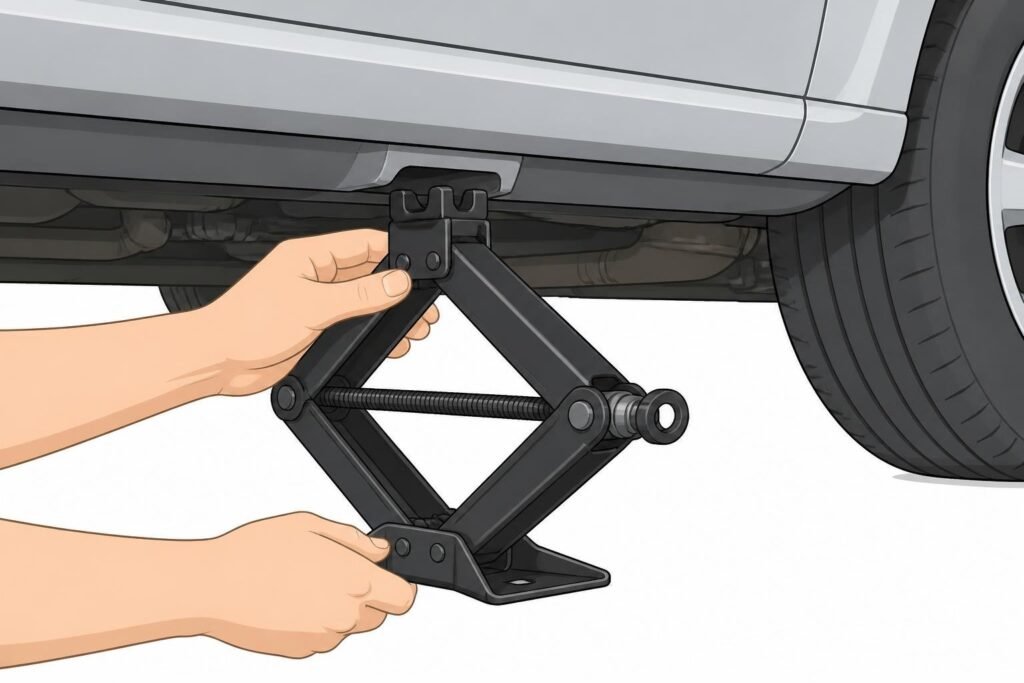
Step 3: Find the Jack Points and Place the Jack
Your vehicle has designated jack points — reinforced spots under the frame that can handle the weight. Using the wrong spot can damage the car or, worse, cause the jack to slip.
Check your owner’s manual. It will show you exactly where the jack points are for your specific vehicle. Generally, they’re located just behind the front wheels and just in front of the rear wheels, along a metal ridge or notch under the rocker panel.
How to place the jack:
- Position the jack directly under the jack point nearest to the flat tire
- If you’re on soft ground (grass, gravel, dirt), put a piece of wood under the jack base to keep it from sinking
- Make sure the jack is sitting flat and square — not at an angle
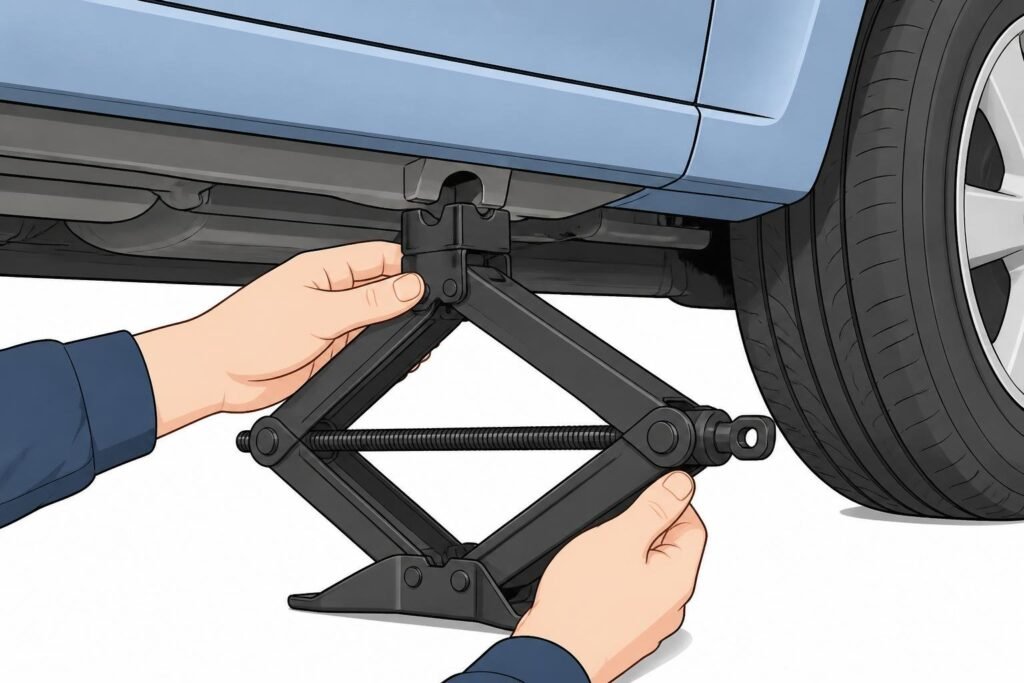
Step 4: Raise the Vehicle
Turn the jack handle clockwise to raise the vehicle. Most stock jacks use a scissor mechanism — slow and steady is the way to go.
Raise the vehicle until the flat tire is about 6 inches off the ground. That gives you room to remove the flat and install the spare without scraping.
A few things to watch:
- Never put any part of your body under a jacked vehicle
- If the jack starts tilting or the car shifts, lower it immediately and reposition
- Don’t use the jack alone as a support for any long-term work — this is just for a tire swap
Once the vehicle is raised, you can place the flat tire under the vehicle near the jack as a precaution. If the car slips off the jack, it falls onto the tire before reaching you. It’s a small but smart habit.
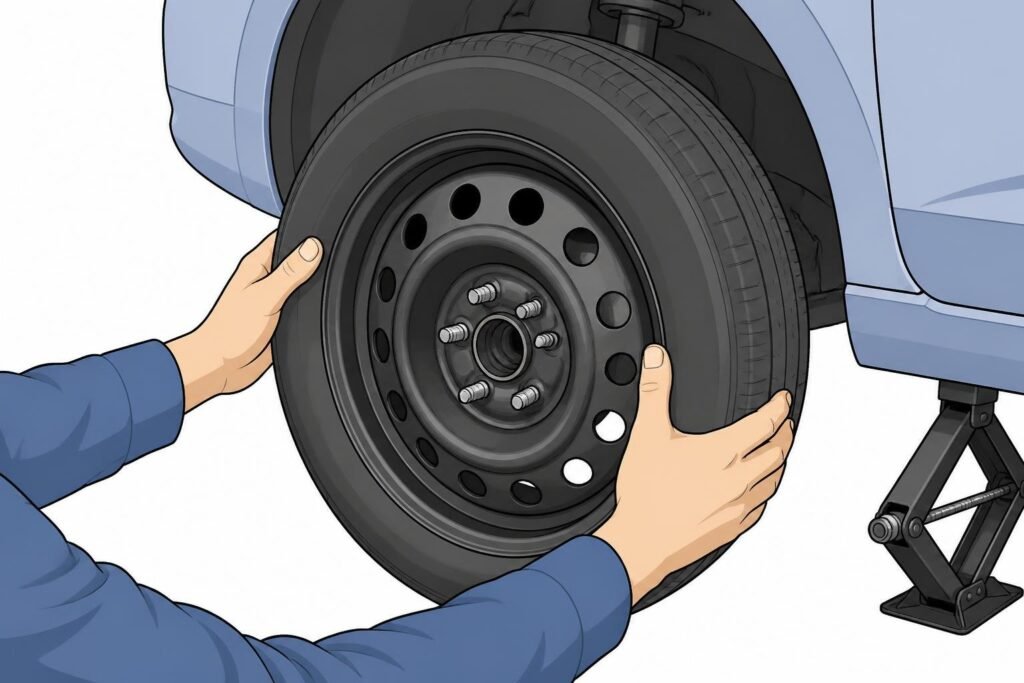
Step 5: Remove the Flat Tire and Mount the Spare
Now finish what you started with those lug nuts.
- Remove each lug nut completely and set them somewhere safe — a pocket, a cup holder, anywhere they won’t roll away
- Pull the flat tire straight toward you and set it aside
- Lift the spare tire and align it with the wheel bolts
- Push it straight onto the hub until the bolts poke through all the holes
- Hand-tighten each lug nut in a star pattern — snug, but not fully tightened yet
The star pattern matters. It distributes pressure evenly and keeps the wheel from sitting crooked on the hub.
Step 6: Lower the Vehicle and Tighten the Lug Nuts
Lower the vehicle back to the ground by turning the jack handle counterclockwise. Do it slowly and controlled.
Once the tire touches the ground — but before the full vehicle weight is on it — tighten each lug nut with the lug wrench. Use the same star pattern. Put your body into it. These need to be tight.
Once the vehicle is fully lowered and the jack is removed, go around again and check each nut one more time. You want them as tight as you can get them by hand with the lug wrench.
Torque spec if you have a torque wrench: Most passenger vehicles call for 80–100 ft-lbs. Check your owner’s manual for the exact number.
Step 7: Check the Spare Tire Pressure and Stow Your Gear
Before you drive anywhere, check the pressure in the spare tire. A donut spare typically needs 60 PSI. A full-size spare should match the other tires — usually somewhere between 32–36 PSI for most passenger vehicles.
If you don’t have a gauge on you, drive carefully to the nearest gas station and check there.
Then stow everything:
- Flat tire goes in the trunk where the spare was
- Jack and lug wrench go back in their storage spots
- Wheel cover, if applicable, can be stored in the trunk — most donut spares don’t use one
Don’t leave tools loose in the trunk. They’ll rattle around and can become projectiles in a sudden stop.
Common Mistakes That Make This Harder Than It Should Be
Skipping the Pre-Flat Check
Most people discover their spare is flat when they’re already on the side of the road. Check it every few months. Takes 30 seconds.
Jacking From the Wrong Spot
Jacking under the rocker panel, the oil pan, or any non-reinforced area can crack plastic trim or, worse, let the car slip sideways. Always use the jack points listed in your owner’s manual.
Over-Tightening Before the Car Is Down
Tightening the lug nuts while the vehicle is still raised causes the wheel to spin and the torque to be uneven. Always do the final tighten once the tire is back on the ground.
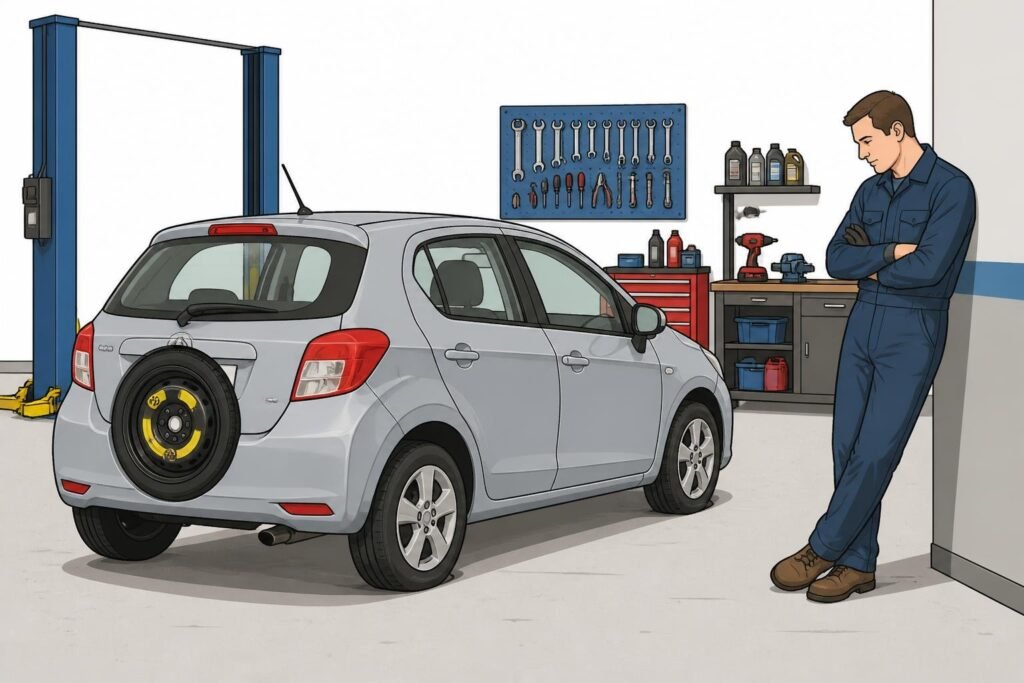
Forgetting to Replace the Spare
A compact spare is temporary. Get your flat tire repaired or replaced as soon as possible — and if the flat is beyond repair, put a real tire back on that wheel.
What to Do After You’ve Changed the Tire
Get the flat tire looked at by a shop within a day or two. Depending on what caused the flat — a nail, a sidewall puncture, a blowout — it may be repairable. Nail holes in the tread can often be patched for $20–30. Sidewall damage usually means replacement.
If you used a compact spare, also have the lug nut torque checked at the shop. A proper torque wrench gives you a more precise tighten than you can do by hand.
And while you’re there: ask them to check the tread and pressure on your other tires. A flat tire is a good reminder that tires wear out — and catching it before a blowout at speed is a lot better than the alternative.
The Short Version (For Quick Reference)
If you just need the fast rundown on how to change a tire:
- Park safely — flat ground, far away from traffic, hazards on
- Loosen the lug nuts before raising the vehicle
- Consult your owner’s manual, then place the jack under the correct jack point
- Raise the vehicle until the flat tire clears the ground
- Remove lug nuts, swap the flat for the spare
- Hand-tighten lug nuts in a star pattern
- Lower the vehicle, then fully tighten and recheck each nut
- Check spare tire pressure before driving
That’s it. You can do this. And next time your tire goes flat — and there will be a next time — you won’t have to wait on the shoulder hoping someone stops to help.
Keep a working spare, know where your jack points are, and review this once before you need it. Twenty minutes of preparation is worth a lot when you’re standing in the rain at 10 PM with cars flying past at 70 mph.