Table of Contents
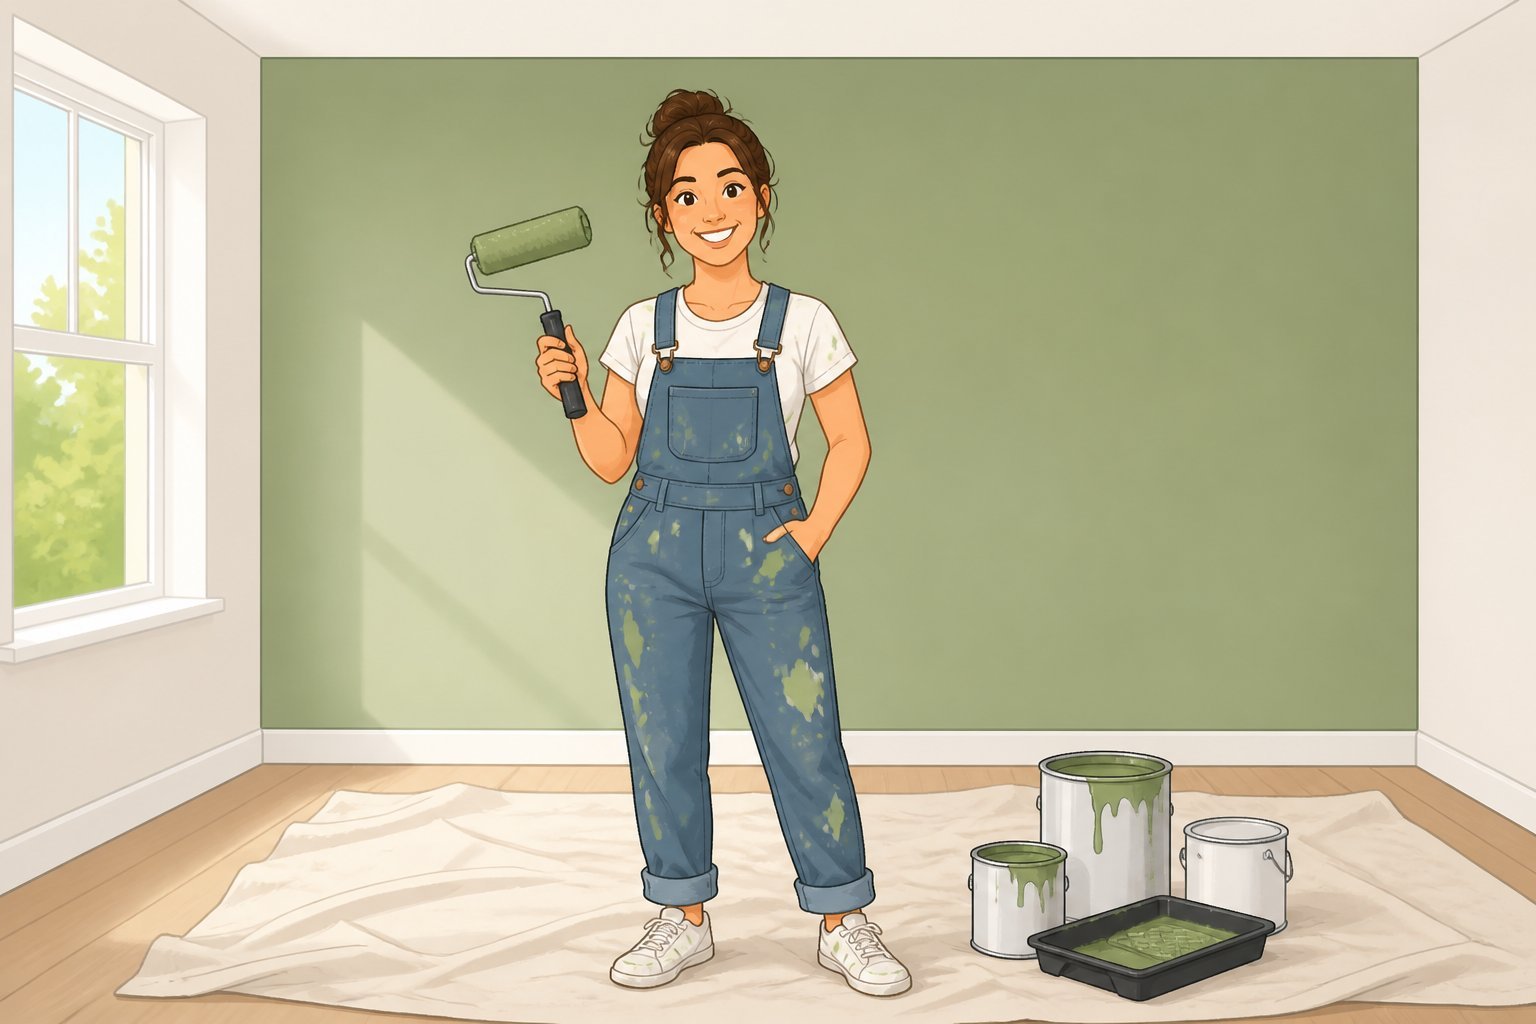
You’ve picked the color, cleared the furniture, and told yourself this weekend is the weekend. Then you open a can of paint and realize you have absolutely no idea where to start.
Don’t sweat it. Painting an entire room is one of the most satisfying DIY projects you can do — and one of the most forgiving. A bad cut-in line? Fix it. Wrong sheen? Sand and go again. The margin for error is wider than most beginners think. What actually separates a clean, professional-looking paint job from a patchy mess isn’t talent — it’s knowing the steps to painting in the right order, and not skipping the boring parts.
Here’s exactly how to do it.
Get Your Paint Supplies Ready Before You Open a Single Can
Walking back to the paint store mid-project because you forgot painter’s tape is how a Saturday afternoon turns into a Sunday regret. Get everything in one trip.
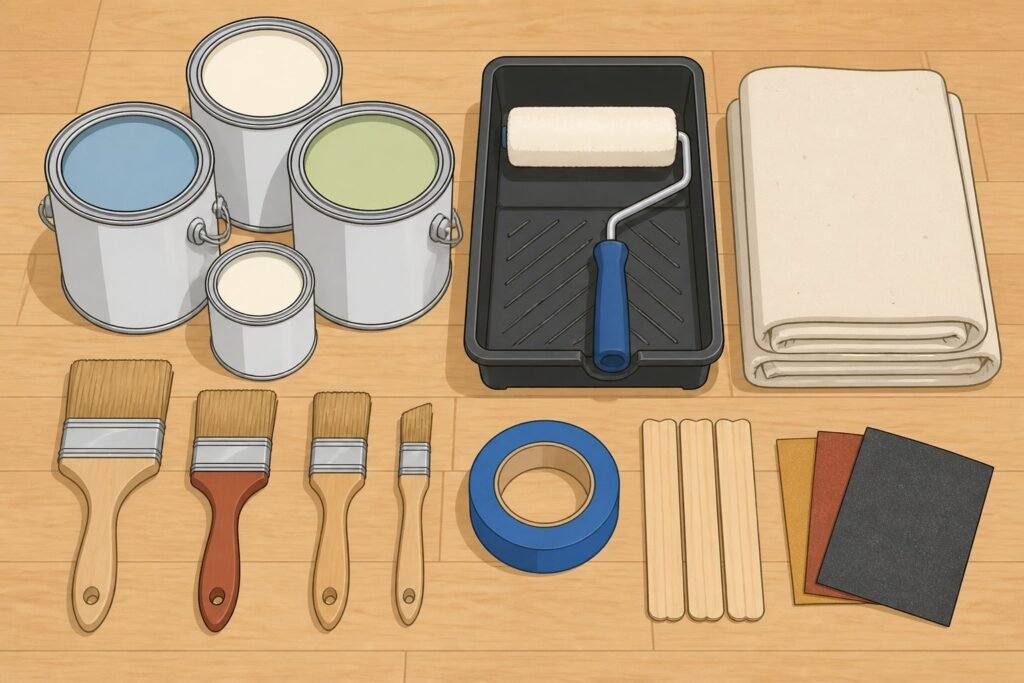
Here’s what you’ll need for a standard paint project:
- Paint (more on how much below)
- Primer (especially for new drywall, dark colors, or stained walls)
- Paint roller — a 9-inch roller with a 3/8-inch nap works for most smooth walls
- Paint tray and liner
- Paint brush — a 2- to 2.5-inch angled brush for cutting in edges
- Painter’s tape
- Drop cloth — canvas holds up better than plastic, which is slippery
- Sandpaper (120-grit for light scuffing, 220 for finishing)
- Damp cloth for wiping dust
- Stir sticks
If you’re going significantly lighter or darker than the existing wall color, grab a paint sample first. Test it on the wall and live with it for 24 hours. Paint looks different in morning light versus evening light, and what looks perfect at the store can surprise you at home.
Figure Out How Much Paint You’ll Need
Running out of paint mid-wall is a nightmare — especially since paint batches can vary slightly between cans. Calculate how much paint you’ll need before you leave the store.
How to Calculate How Much Paint to Buy
The standard formula: one gallon of paint covers about 350–400 square feet with one coat.
To figure out how much paint you’ll need:
- Measure the perimeter of the room and multiply by the ceiling height
- Subtract roughly 20 square feet for each standard door and window
- Divide by 350 to get the number of gallons per coat
For most average-sized bedrooms (around 12×12 feet with 8-foot ceilings), one gallon handles a single coat on all four walls with a little left over. Two coats of paint — which you’ll almost always want — means two gallons.
Buy a little extra. Leftover paint stores well in a sealed can and is invaluable for touch-ups down the road.
Prep the Walls — This Is the Step Most People Skip
Here’s the honest truth: the quality of your prep work determines the quality of the paint job. An hour spent prepping the walls is worth more than any premium brush or paint roller.
Clean the Walls
Grease, dust, and grime prevent paint from sticking. Wipe everything down with a damp cloth. For kitchen walls or grimy surfaces, a mild degreaser works better. Let the walls dry completely before you touch a brush.
Patch Any Holes or Imperfections
Nail holes, small dents, hairline cracks in the drywall — fill them with spackling compound. Let it dry, sand it smooth with 220-grit sandpaper, and wipe away the dust. Skipping this step means every imperfection gets amplified under fresh paint.
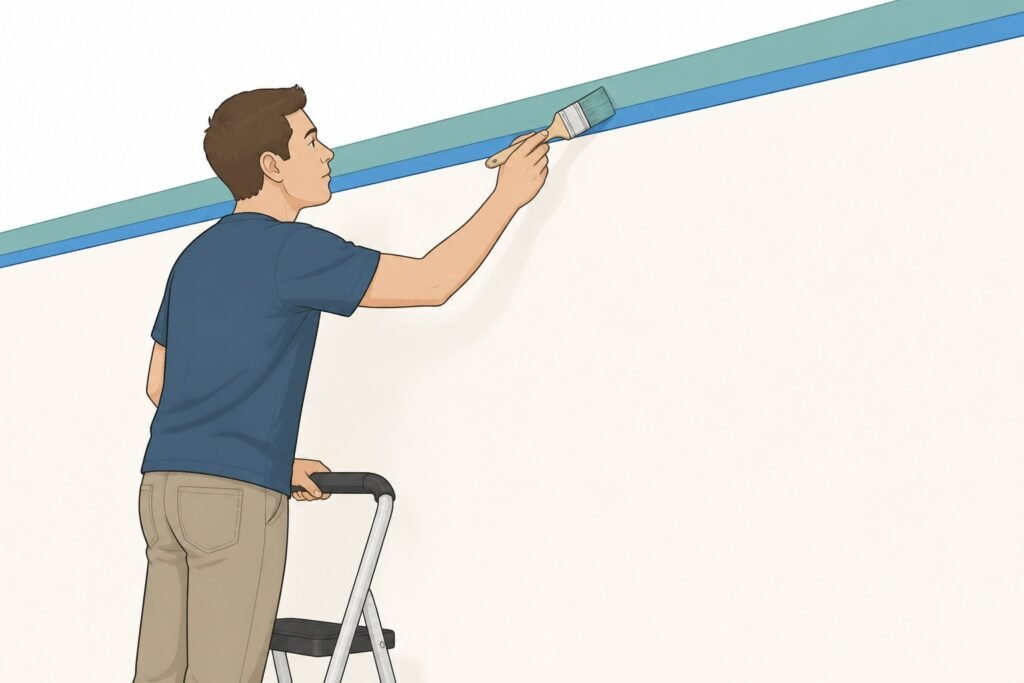
Tape the Edges
Run painter’s tape along the ceiling line, baseboards, window frames, and outlet covers. Press the tape down firmly with a putty knife or your fingernail to seal the edge — otherwise paint bleeds underneath and you lose that crisp line.
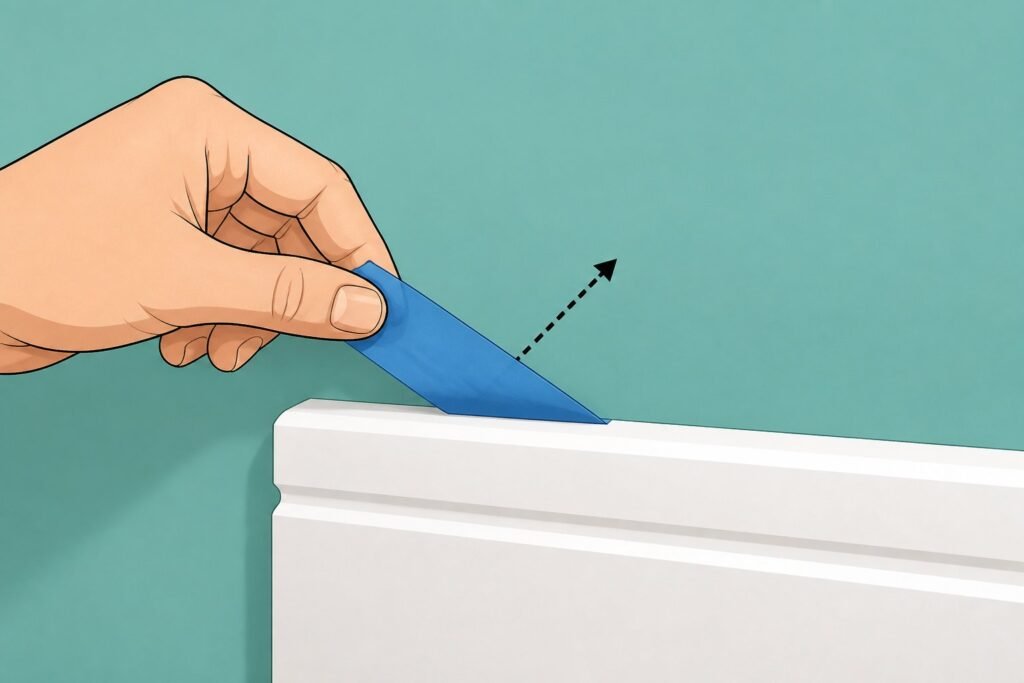
Pull the tape off at a 45-degree angle while the paint is still slightly wet (or right after it dries — don’t wait days). This gives you the cleanest edge.

Do You Need Primer? (More Often Than You Think)
Primer is one of those supplies that beginners skip and then regret. You don’t always need it — but when you do, there’s no substitute.
Use primer when:
- You’re painting new drywall (it absorbs paint like a sponge without it)
- You’re making a dramatic color change — say, dark red to pale yellow
- The existing wall has stains, water damage, or heavy marks
- You’re switching from oil-based paint to latex paint
For most standard repaints where the color change is moderate, a quality self-priming interior paint handles it fine. Brands like Benjamin Moore Aura or comparable lines have enough pigment and binders that you can skip the separate primer step and still get full coverage in two coats.
When in doubt, ask at the paint store. The staff there can tell you based on your specific situation — they’d rather you get it right the first time.
Understand Paint Sheens Before You Buy
Paint sheens don’t get enough attention in beginner guides, but they matter. The sheen affects how the wall looks and how easy it is to clean.
- Flat/Matte: Hides imperfections well, low glare, hard to wipe clean — best for low-traffic bedrooms and ceilings. Ceiling paint is almost always flat.
- Eggshell: A slight sheen, wipes clean fairly easily — the most popular choice for living rooms and bedrooms
- Satin: More sheen and durability — great for hallways, kids’ rooms, kitchens
- Semi-gloss: Noticeably shiny, very washable — ideal for trim, doors, and bathrooms
- Gloss: High shine, used for accents and furniture more than walls
One common setup: flat or eggshell on the walls, semi-gloss on the baseboard and trim. This gives you contrast and makes the trim easy to wipe down.
Paint the Walls: Brush and Roller Technique
Now it’s time to paint. The order matters: ceiling first (if you’re painting it), then walls, then trim and baseboard last.
Step 1: Cut In the Edges
Before you use a paint roller, cut in around all the edges with your angled paint brush — ceiling line, corners, around windows, doors, and along the baseboard. Paint a strip about 2–3 inches wide all the way around the edges of the room.
This is the slow, careful work. Take your time here. Everything else goes faster.
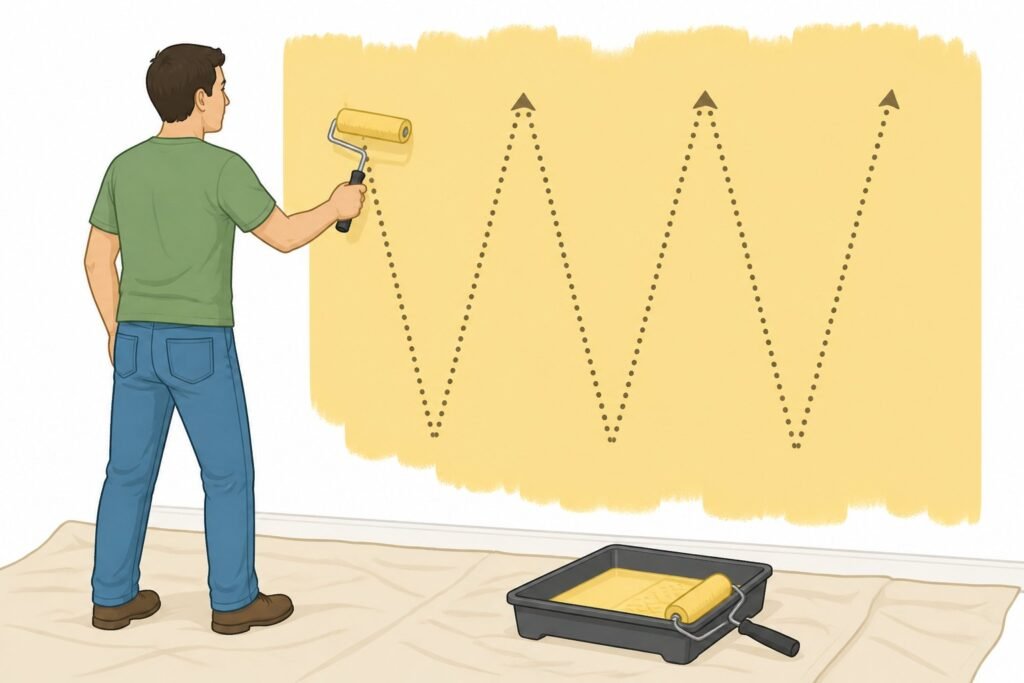
Step 2: Roll the Main Walls
Pour paint into your paint tray, load the roller, and roll off excess paint on the ridged part of the tray. A roller that’s overloaded drips and creates thick, uneven lines.
Work in 3-foot-wide sections. Use a “W” or “M” pattern to spread the paint, then smooth it out with vertical strokes. Always maintain a wet edge — meaning you’re always rolling into paint that’s still wet. If you let one section dry and then roll into it, you get lap marks.
Keep the roller pressure consistent and move at a steady pace across the entire wall.
Step 3: Don’t Forget to Work Top to Bottom
Start near the ceiling and work your way down toward the baseboard. This lets any drips run into areas you haven’t finished yet, so you can catch them while the paint is still wet.
Apply the Second Coat (Yes, You Need It)
One coat of paint almost never looks finished. Even with quality paint and a good first coat, you’ll usually see uneven coverage, thin spots, and the old color bleeding through — especially on the edges of the room.
Wait for the first coat to dry completely before starting the second. Check the paint can for the drying time — most latex paint is dry to the touch in 1–2 hours, but the recommended time between coats is usually 4 hours. Oil-based paint takes much longer: sometimes 24 hours between coats.
Don’t rush this. Rolling a second coat over wet first coat lifts the paint and creates a streaky, textured mess.
The second coat goes on the same way as the first: cut in first, roll after. The difference is that the second coat is usually faster — the walls are already primed and partially covered, so you’re filling gaps and evening out the finish rather than building coverage from scratch.
The final coat of paint should look smooth, consistent, and even from all angles when dry.
Finishing Up: Remove Tape, Clean Up, Touch Up
You’re almost done. Here’s how to finish painting the room cleanly.
Remove the painter’s tape while the paint is still slightly tacky — not wet, not fully cured. Score along the tape edge with a putty knife first if the paint has hardened over it. Pull slowly at a 45-degree angle. If the paint pulls with it, the tape has been on too long; use the knife to separate them.
Check for drips and missed spots before everything dries. A paint brush dipped lightly in paint and dabbed over a drip blends it back in. After the paint dries, drips are much harder to fix cleanly.
Clean your tools. Latex paint washes out with warm water. For oil-based paint, you’ll need mineral spirits or paint thinner. Clean rollers and brushes immediately after finishing — dried paint ruins them.
Remove any excess paint from outlet covers, switch plates, and window glass with a razor blade scraper once the paint is fully dry.
A Few Painting Tips That Actually Make a Difference
These aren’t the obvious stuff — these are the things you learn after doing a few rooms.
- Use a paint sprayer only if you know what you’re doing. A paint sprayer is fast, but it requires masking everything in the room and learning the technique. For most DIY projects, a brush and roller gives you more control.
- Stir paint thoroughly every time you open a fresh can. Pigment settles. Even if the store shook it for you, stir it before use.
- Keep a wet rag nearby. Drips happen. Getting them while they’re wet is about a tenth of the work of scraping dried paint later.
- Ventilate the room. Open windows, run a fan. Paint fumes aren’t pleasant, and good airflow speeds drying time.
- Don’t paint over glossy surfaces without scuffing first. If you’re repainting interior walls that have a semi-gloss or gloss finish, lightly sand them with 120-grit sandpaper first. Paint sticks to tooth, not to shine.
A fresh coat of paint is one of the cheapest, most impactful things you can do to a room. The whole painting process — from prepping the walls to the final coat of paint — can be done in a weekend for most rooms if you stay organized. Learn how to paint one room well, and you’ll want to do every room in the house.
Start with the prep. Don’t skip the primer when you need it. Apply two coats of paint. And remove the painter’s tape before it’s been on for three days — trust me on that one.