Table of Contents
Snowboarding looks intimidating until you’re actually doing it — then it just feels like falling sideways in slow motion, repeatedly, while cold. That’s day one for almost everyone. The good news: the learning curve is steep at first and then flattens out fast. Most people who stick with it through the first full day on the mountain are genuinely riding by the end of it.
These beginner snowboarding tips cover everything you need to get you started — gear, stance, how to stop, how to turn, and the mindset shift that makes the whole thing click faster. If you’re getting into snowboarding for the first time, read this before you book your lift ticket.
Get Your Snowboarding Gear Right Before You Hit the Slope
Bad gear makes a hard sport feel impossible. Before your first snowboard trip, spend some time getting this right — or rent carefully.
Choosing a Beginner Snowboard
A good snowboard for beginners is soft to medium flex, shorter than what experienced snowboarders typically ride, and forgiving when you make mistakes. Softer flex means the board bends more easily, which makes it more responsive to small movements — exactly what you want when you’re still learning to shift your weight.
Visit a local snowboard shop and tell them you’re a beginner. They’ll help you match board length to your height and weight. Don’t borrow a friend’s freestyle board that’s stiff as a plank — you’ll just make things harder for yourself.
Snowboard Boots and Bindings
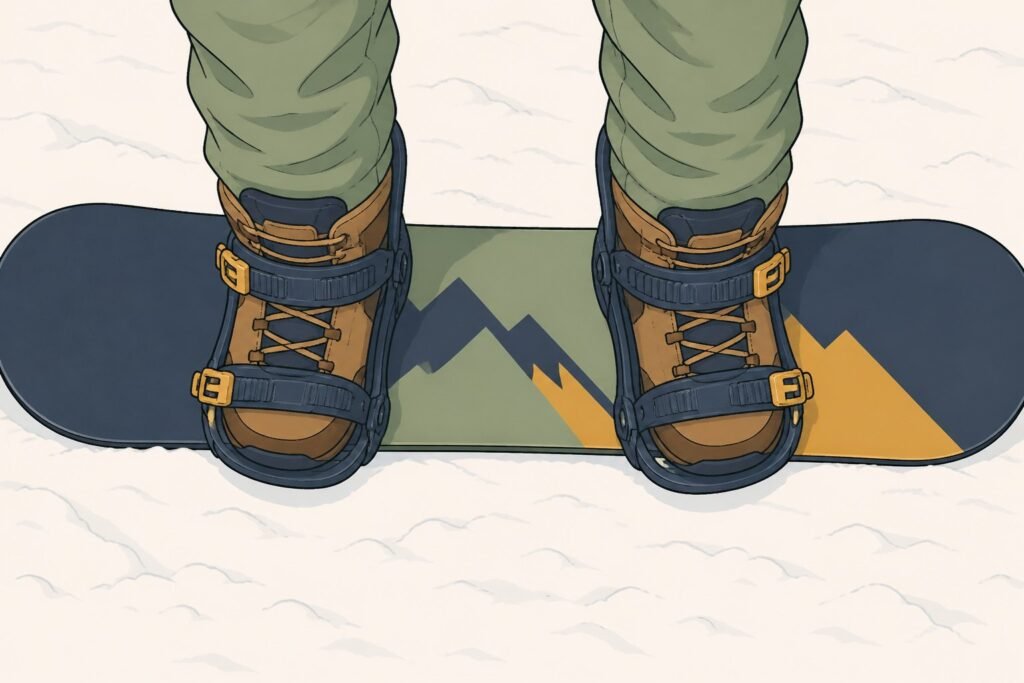
Snowboard boots should feel snug all the way around with no heel lift. Heel lift — where your heel moves up inside the boot when you flex — is one of the most common causes of poor edge control for beginners. Lace them tightly.
Bindings connect your boots and bindings to the board and should be set up at your ski resort rental shop or snowboard shop before you ride. Make sure the straps hold your boots firmly without cutting off circulation. Once you’re strapped into the binding, there should be no play or looseness between your foot and the board.
Essential Snowboarding Gear
Beyond the board, boots, and bindings, you’ll need:
- Helmet — non-negotiable. Ski resorts now require them for under-18s at most mountains, but honestly everyone should wear one.
- Goggles — protect your eyes from wind, glare, and snow. A fogged-up lens makes riding genuinely dangerous.
- Wrist guards — beginners fall forward constantly, and wrists take the impact. Wrist guards prevent the most common beginner injury.
- Snow pants and a waterproof jacket — you will sit in the snow, repeatedly. Staying dry keeps you on the mountain longer.
Rent everything your first time unless you’re committed to the sport. Snowboarding gear adds up fast, and rental equipment at a decent ski resort is usually sufficient for learning the basics of snowboarding.
Figure Out Your Snowboard Stance Before You Clip In
Your snowboard stance — which foot goes in front — determines everything about how you ride. There are two options:
- Regular: left foot forward
- Goofy: right foot forward
Your lead foot is typically your dominant foot, but not always. A simple test: if someone pushed you from behind unexpectedly, which foot would you step forward with to catch yourself? That’s usually your front foot.
If you genuinely don’t know, try both for a run and see which feels more natural. There’s no right answer — roughly 30% of snowboarders ride goofy, and it doesn’t affect how good you can eventually get.
Bindings are typically set at around 15 degrees on the front foot and 0 degrees (or slightly negative) on the back foot for beginners. Your snowboard instructor or rental shop will set these up for you.
Learn How to Fall Before You Learn Anything Else
This sounds strange, but learning how to fall correctly is genuinely one of the most important snowboarding tips for beginners. You’re going to fall a lot — the question is whether those falls hurt or not.
The two biggest falling mistakes:
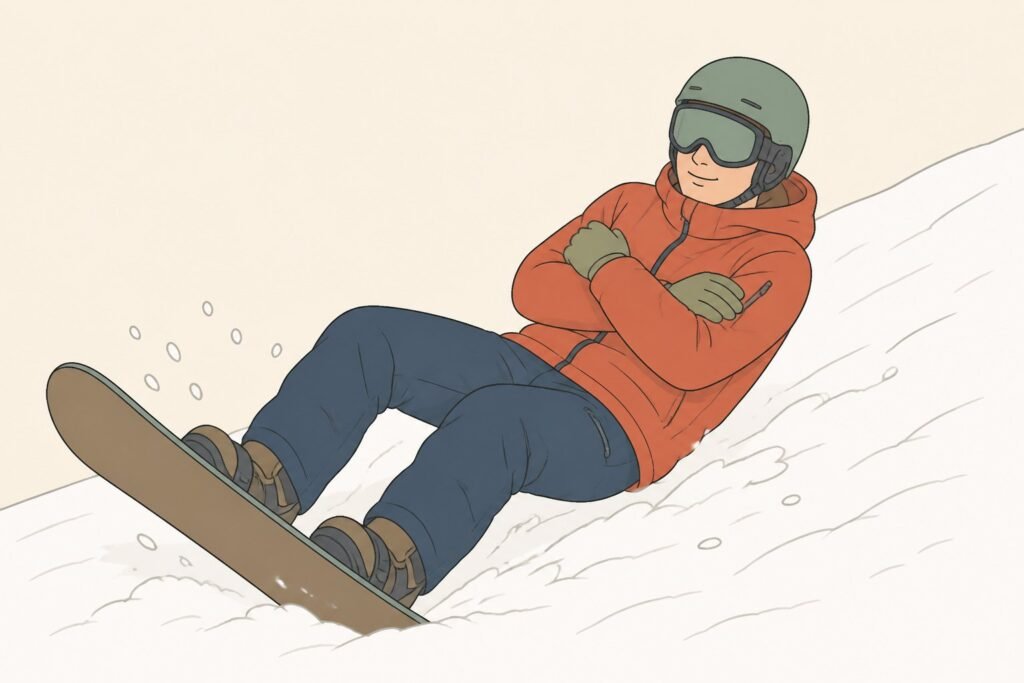
- Reaching back with your hands when you fall backwards. This is how wrists break. Instead, cross your arms over your chest when you feel yourself going backwards, and take the impact on your forearms and backside.
- Locking your arms out straight when you fall forward. Same problem — straight wrists under body weight equals injury. Bend your elbows and take the fall on your forearms.
Tuck, bend, absorb. Practice this on flat ground before you try a slope.
Start on Flat Ground: Move Around on Flat Before You Go Downhill
Before you get anywhere near a slope, spend time learning to move around on flat ground with one foot strapped in and one foot free — this is how you push yourself along and get on and off the chairlift.
Strap your front foot into the binding and leave your back foot free. Practice pushing yourself forward by placing your back foot on the snow between the bindings (on the middle of your board) and pushing off. This is called skating, and you’ll use it constantly — at the base of the chairlift, through lift lines, and across flat runoffs.
Once you can skate forward and stop yourself, practice standing still on the board with both feet strapped in. Get comfortable with the weight distribution and feel how the board responds when you shift your weight forward and back. This time getting a feel for how the board moves underfoot is part of the learning process that a lot of beginners skip, and they pay for it on the slope.
Take a Lesson — Especially If You’re New to Snowboarding
Strongly recommend taking a lesson your first day, and ideally your first two or three days. A good snowboard instructor will teach you the fundamentals of snowboarding in the right order, correct your body position before bad habits set in, and save you hours of frustration.
Group lessons at most ski resorts are affordable — typically $50–$100 on top of your lift ticket — and beginner snowboard lessons are specifically designed for people who’ve never been on a board. You’ll spend most of the first lesson on a bunny hill: a very gentle, beginner-appropriate slope with easy access to a slow surface lift.
The structured learning environment also makes you aware of your surroundings and how to share the slope safely with other skiers and snowboarders. Snowboarding basics like falling line awareness and uphill traffic don’t get covered on YouTube.
How to Control Your Speed and Stop
Learning to control your speed is the first functional skill that separates a beginner from someone who can actually get down a slope with some confidence.
The Heel Edge and Toe Edge
Your snowboard has two edges that do all the work: the heel edge (the edge under your heels) and the toe edge (under your toes). Digging either edge into the snow scrubs speed and lets you steer.
To slow down or stop on your heelside, shift your weight back onto your heels and lift your toes slightly. The heel edge bites into the snow and you slow down. To do the same on your toeside, lean forward onto your toes — keep your knees bent and push your knees toward the slope.
Most beginners find heelside stopping more instinctive because you’re facing uphill and can see where you’re going. Toeside stopping requires a bit more trust, but you’ll need both.
Traversing Across the Slope
Before you try making turns, learn to traverse — riding board across the slope in a controlled line, either on your heel edge or toe edge, rather than heading straight down the fall line. This gives you speed control and lets you pause, look around, and gather yourself on the mountain.
Practice riding a straight line across the slope on your heel edge, stopping, then turning around and doing the same on your toe edge. Once you can traverse confidently in both directions, you’re ready to link turns.
How to Turn on a Snowboard: Linking Turns
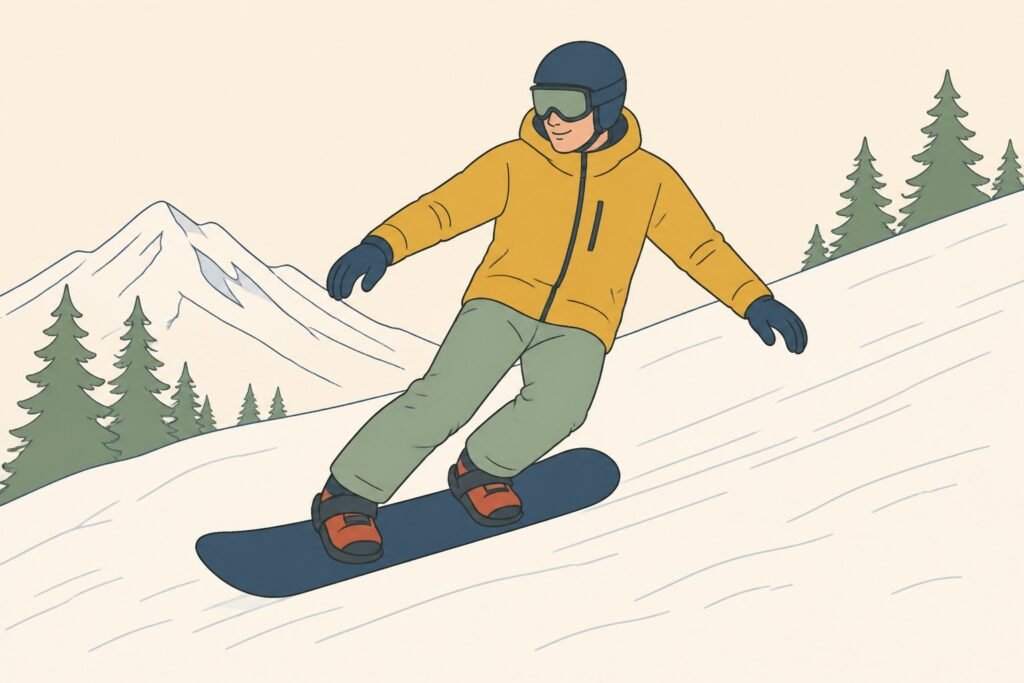
Linking turns is the first real milestone in snowboarding — the moment you stop traversing back and forth and start flowing down the mountain with some rhythm. It’s also the point where snowboarding stops feeling like punishment and starts feeling fun.
The Basic Turn Progression
A turn on a snowboard is really just a weight shift from one edge to the other. You start on your heel edge, let the board begin to point more directly downhill (this is the scary part), then shift your weight forward onto your toe edge to complete the turn and slow back down.
The key movement is bend your knees and keep your knees bent throughout. Beginners who stand up straight lose their center of gravity and tend to catch an edge and fall. Stay low. Keep your knees soft. The lower your center of gravity, the more centered over the snowboard you stay and the more control you have.
Look where you want to go — your body follows your eyes. Turn your head and shoulders in the direction of your next turn and your hips will follow.
Common Mistakes When Making Turns
- Leaning too far back — you’ll lose control of your front foot and the board will slide out. Keep your weight evenly centered or very slightly forward.
- Looking down at the board — look ahead and down the slope.
- Straightening your legs mid-turn — resist this reflex. Keep your knees bent all the way through.
The first few times you link turns it will feel chaotic. That’s normal. Within a day or two on the mountain, the movement becomes more intuitive, and by your second or third snowboard trip it starts to feel almost automatic.
Tips and Tricks for Your First Day on the Mountain
A few final beginner snowboarding tips that make the snowboarding experience significantly better:
Rest before you’re exhausted. Snowboarding uses muscles — especially your ankles, calves, and core — that most sports don’t train the same way. Riding tired is when bad falls happen. Take breaks, sit down, eat something.
Start on green runs only. A bunny hill or the easiest green run at your ski resort is the right place to spend your entire first day on the slopes. There’s no benefit to going somewhere steeper before you can turn and stop reliably.
Don’t ride with advanced friends on their terms. This is one of the fastest ways to have a bad day on the mountain. Ride your own pace. Your snowboarding journey doesn’t need to keep up with someone who’s been doing this for ten years.
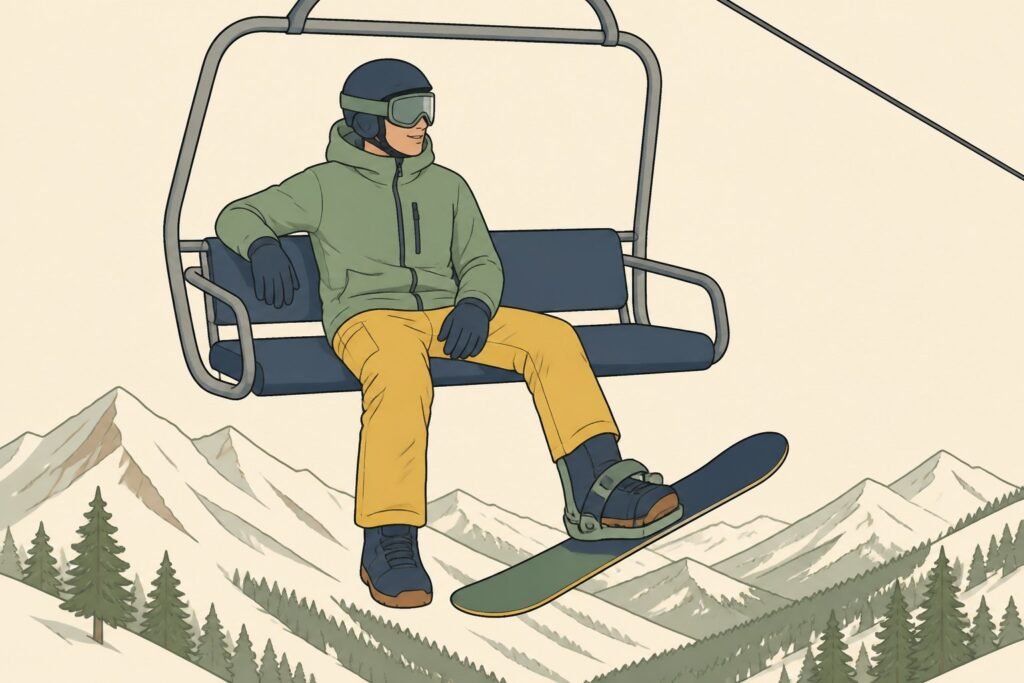
Get on the chairlift correctly. When you get to the chairlift, unstrap your back foot. When the chair comes, sit back firmly. When you get off at the top, stand up, place your free foot on the board between the bindings, and glide away from the unloading area. Don’t hesitate — people behind you are coming off the lift too.
Drink water. High altitude and cold, dry air dehydrate you faster than you’d expect. Dehydration makes everything feel harder and increases your fall risk at the end of the day.
The World of Snowboarding Opens Up Fast
The first day is the hardest. Falling constantly, not being able to stop cleanly, feeling like everyone else on the slope was born on a board — all of that is normal. Stick with it past that first day and snowboarding changes completely.
By your second full day on the mountain, most beginners are linking turns on easy green runs. By a weekend trip or two, you’re exploring more of the ski resort and starting to build real confidence. The fundamentals of snowboarding that feel so mechanical now — edge control, weight shift, looking where you’re going — stop being something you think about and just become how you ride.
Take that lesson. Start on the bunny hill. Learn to fall. The rest takes care of itself.