Table of Contents
Your laptop gets stolen. Your hard drive dies without warning. You accidentally delete a folder you needed. Any of these can happen today — and if you don’t have a backup, they can cost you years of work, irreplaceable photos, and serious money.
The fix is simple. Backing up your computer takes less than an hour to set up, runs automatically after that, and costs little to nothing. Here’s exactly how to do it — for both Mac and Windows, using local drives, cloud storage, or both.
Why You Need More Than One Backup
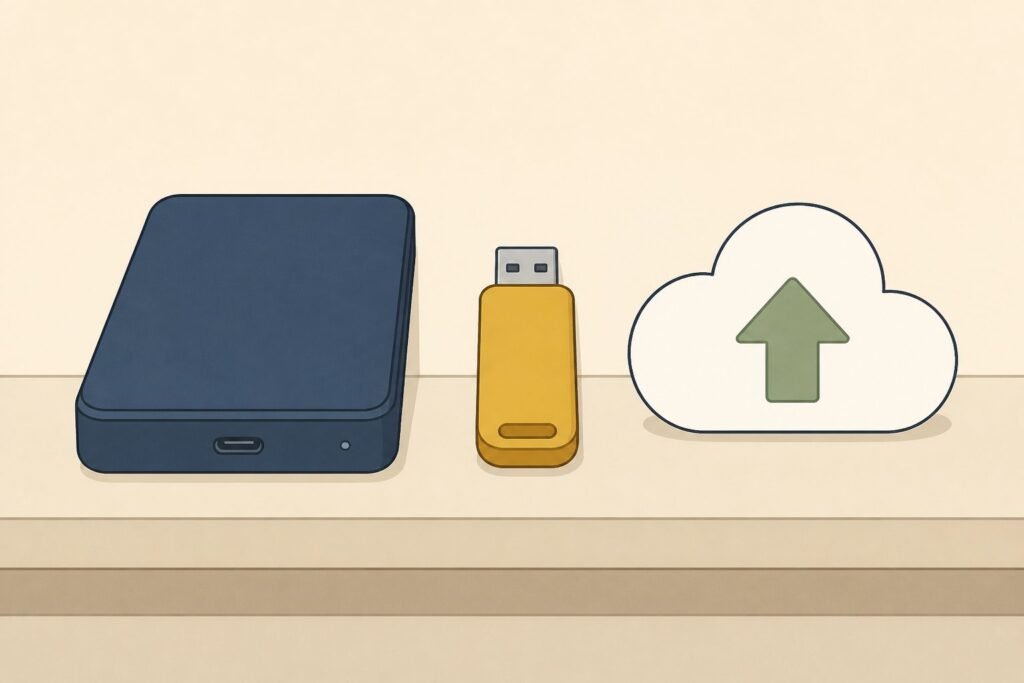
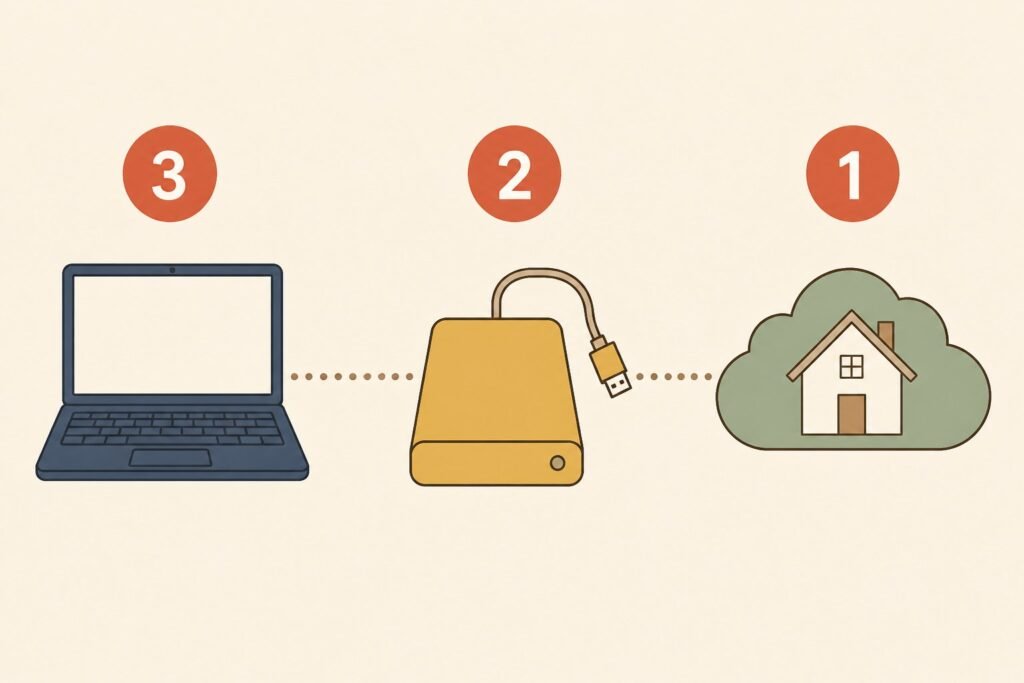
The golden standard for data backup is called the 3-2-1 rule: keep 3 copies of your data, stored on 2 different media types, with 1 copy offsite. Most people don’t follow this — they just have one copy of everything sitting on their computer.
That’s a problem because drives fail. Studies suggest hard drives have a 5–10% failure rate within the first five years. SSDs are more reliable, but they’re not immune. And hardware failure is only one risk. Ransomware, theft, house fires, and accidental deletion are just as real.
A solid backup plan covers local backups (fast to restore), plus cloud backup or offsite storage (survives anything physical). You don’t have to do everything at once — start with one method and build from there.
Method 1: Backup to an External Hard Drive
An external hard drive is the most reliable, cost-effective way to back up your computer. A 1TB drive costs around $50–$70, and a 4TB drive is usually under $100. That’s a one-time cost for years of protection.
Using an External Hard Drive on Mac (Time Machine)
Mac’s built-in backup app is called Time Machine, and it’s excellent.
- Plug your external drive into your Mac.
- macOS will ask if you want to use it for Time Machine — click Use as Backup Disk.
- If it doesn’t ask automatically, open System Settings → General → Time Machine and select your drive manually.
- Time Machine runs automatic backup every hour by default. It keeps hourly backups for 24 hours, daily backups for a month, and weekly backups until your drive fills up.
When your drive fills, Time Machine deletes the oldest backups to make room. The backup process runs silently in the background — you won’t notice it. Your first backup takes a while depending on how much data you have, but every backup after that is quick because it only saves what’s changed.
Using an External Hard Drive on Windows (Backup and Restore)
Windows has two built-in options: File History for ongoing file backup and Backup and Restore for creating a full system image.
File History (recommended for most people):
- Plug in your external drive.
- Go to Settings → Update & Security → Backup.
- Under “Back up using File History,” click Add a drive and select your external drive.
- Toggle on Automatically back up my files.
File History saves copies of your files every hour by default. You can adjust the frequency and how long to keep old versions under More options.
Windows Backup and Restore (for a full backup image):
- Search for “Backup and Restore (Windows 7)” in the Start menu — yes, it still works in Windows 10 and Windows 11.
- Click Set up backup, select your external drive, and follow the wizard.
- This creates a backup image of your entire system — useful if your hard drive fails and you need to restore everything to a new drive.
For most users, File History handles day-to-day protection. The full system image is worth doing at least once so you can easily restore your setup to a new hard drive if needed.
Method 2: Cloud Backup Services
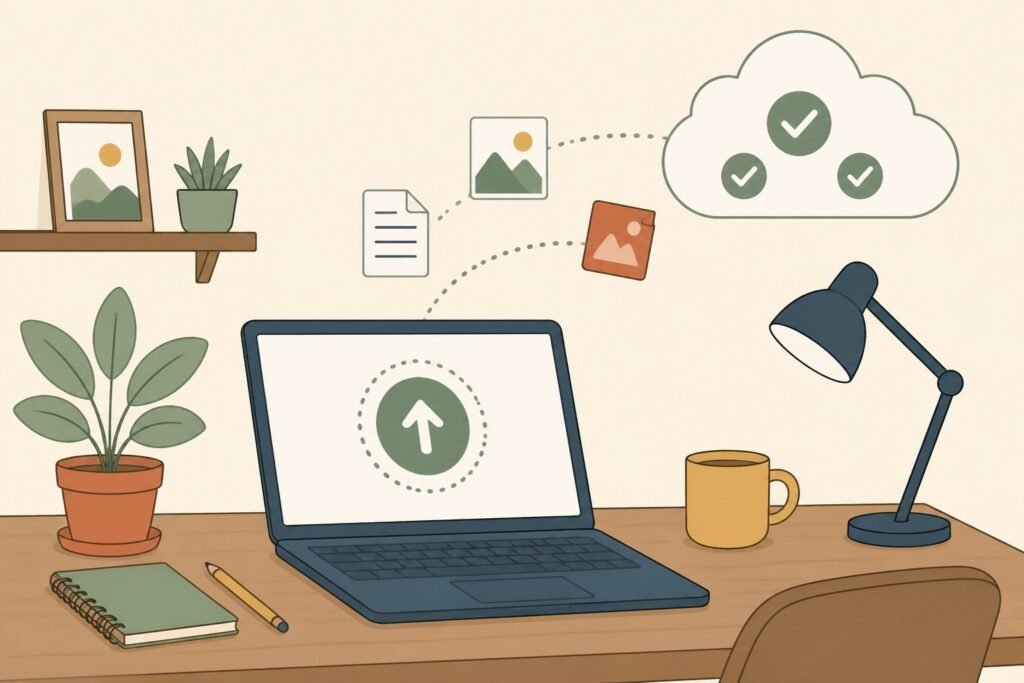
Cloud backup works differently from cloud storage (like Google Drive or Dropbox). Cloud storage syncs specific folders. Cloud backup services continuously copy everything on your computer — applications, system files, all your data — to secure servers. If something goes wrong, you can restore your files from anywhere.
Best Online Backup Services
Backblaze — The most popular online backup service for individuals. It backs up your entire computer (unlimited data) for around $9/month. Works on Mac and Windows, runs silently in the background, and keeps deleted file versions for up to one year. If your computer dies, they’ll even mail you a hard drive with your data on it.
iDrive — Slightly more flexibility with support for multiple devices under one plan, starting around $79.99/year for 5TB. Good for families or people with more than one computer.
Acronis True Image — A cloud backup service that also includes local backup software and ransomware protection. More feature-heavy than Backblaze, but also more expensive.
For most people, Backblaze is the best starting point. It’s simple, affordable, and automatic once you install it.
Cloud Storage vs. Cloud Backup — Know the Difference
Cloud storage (Google Drive, Dropbox, OneDrive) syncs folders you choose and gives you access across devices. It doesn’t back up your whole computer, and if you delete a file locally, it deletes in the cloud too.
Cloud backup services copy everything, run continuously, and keep version history so you can recover files even after they’re deleted. For serious data protection, you want a cloud backup service — not just cloud storage.
That said, using both isn’t overkill. Keep important working files in Google Drive or OneDrive for easy access, and use a cloud backup service like Backblaze to protect everything.
Method 3: Using a Flash Drive or USB Drive for Quick Backups
A USB flash drive or USB drive isn’t the best long-term backup solution — flash storage wears out over time and capacities are smaller — but it’s handy for quick backups of important documents before travel, a system update, or a risky project.
You can manually drag files onto a flash drive, or use Windows’ built-in File History to back up files to it. On Mac, you can drag files manually or use a tool like Carbon Copy Cloner for a more complete backup to a USB drive.
For a simple document backup, a 64GB USB flash drive (under $15) is fine. For anything more — photos, videos, creative projects — use an external hard drive instead.

How to Set Up Automatic Backup (So You Don’t Have to Think About It)
The best backup is one that runs without you remembering to do it. Both Mac and Windows support automatic backup — you just need to turn it on.
On Mac: Time Machine runs automatically every hour once a backup drive is connected. You can leave your external drive plugged in all the time, or plug it in weekly — Time Machine will catch up when it reconnects.
On Windows: File History backs up every hour by default when the drive is available. For cloud backup services like Backblaze, automatic backup runs continuously in the background.
A few settings worth reviewing in your backup settings:
- How often to back up — hourly is ideal for active use; daily is fine if you work on files infrequently
- How long to keep versions — older versions take up more space, but version history saves you if you overwrite something you needed
- What to exclude — system caches and temp files are safe to skip
Set it once. Let it run. Check in every month or two to make sure backups are actually completing.
How to Back Up Your Mac Specifically
Mac users have a few good options beyond Time Machine.
Time Machine + External Drive — Best for local backup. Fast to restore, works offline.
iCloud Drive — Apple’s cloud storage syncs your Desktop and Documents folders automatically if you turn on iCloud Drive in System Settings. This isn’t a full computer backup, but it keeps your most important files safe and synced across devices.
Carbon Copy Cloner or SuperDuper — These apps create a bootable clone of the drive, meaning an exact copy you can start your Mac from if your main drive fails. This is especially useful before upgrading to a new drive or a new computer. A clone isn’t a substitute for Time Machine (it doesn’t keep older file versions), but it’s a great complement.
For a complete backup strategy on Mac: Time Machine to an external drive + iCloud Drive for active documents + Backblaze as your offsite backup.
How to Restore Your Files When Something Goes Wrong
A backup is only useful if you can actually restore your files from it. Here’s how that works:
Restoring on Mac with Time Machine
- Open Time Machine from the menu bar or Finder.
- Browse backward through time to find the file or folder you need.
- Click Restore to bring it back to its original location.
To restore your entire computer after a drive failure, boot from macOS Recovery (hold Command + R at startup) and choose Restore from Time Machine Backup.
Restoring on Windows
For File History: go to Settings → Update & Security → Backup → More options → Restore files from a current backup. Browse by folder or date, find what you need, and restore.
For a full system restore from a backup image: boot from your Windows installation media or recovery drive, choose Repair your computer, and select System Image Recovery.
For cloud services like Backblaze, log into your account from any browser, browse your backup, and download whatever you need. A full restore can also be done by reinstalling the app on a new computer.

Choosing the Right Backup Plan for You
Not everyone needs the same setup. Here’s a quick way to think about it:
If you’re a casual user (mostly documents, some photos, light work): an external hard drive with Time Machine or File History, plus iCloud or Google Drive for your most important folders, is plenty.
If you work from home or run a business: you need at least two backup methods — one local (external drive for fast restores) and one cloud backup service for offsite protection. A hardware failure or ransomware attack with no offsite backup can cost you everything.
If you have a lot of irreplaceable data (years of photos, creative projects, client work): follow the 3-2-1 rule. Local backup, cloud backup, and a second physical drive kept offsite or in a fireproof safe.
Before getting a new computer: do a full backup first. Whether you’re migrating to a new computer or wiping your old one, having a fresh complete backup means the transition is risk-free.
The main thing is to start. The ideal backup plan you never set up is worse than an imperfect one that’s actually running.
Common Backup Mistakes to Avoid
Only backing up once — A backup from six months ago won’t help much when you need to restore a file you edited last week. Set up automatic backup so it stays current.
Keeping your backup drive next to your computer — If your home floods, is burglarized, or catches fire, you lose both. Keep a second copy offsite or use cloud backup as your offsite layer.
Never testing your backups — Restore a random file from your backup every few months to confirm it actually works. Plenty of people discover their backup was broken only when they desperately need it.
Skipping the cloud because of cost — Backblaze costs less than one coffee per month. The cost of data recovery from a failed hard drive starts at $300 and can go over $1,500. The math is obvious.
Your Next Step
Pick one method and do it today. If you don’t have an external drive yet, order one — a 1TB drive ships in a day and costs less than dinner. If you’d rather start with cloud backup, download Backblaze’s free trial and let it run overnight.
Once your first backup completes, you’ll wonder why you waited. And the next time a drive fails or a file disappears — and it will happen eventually — you’ll be the person who gets to shrug it off instead of panicking.
Start the backup. Do it now.