Table of Contents
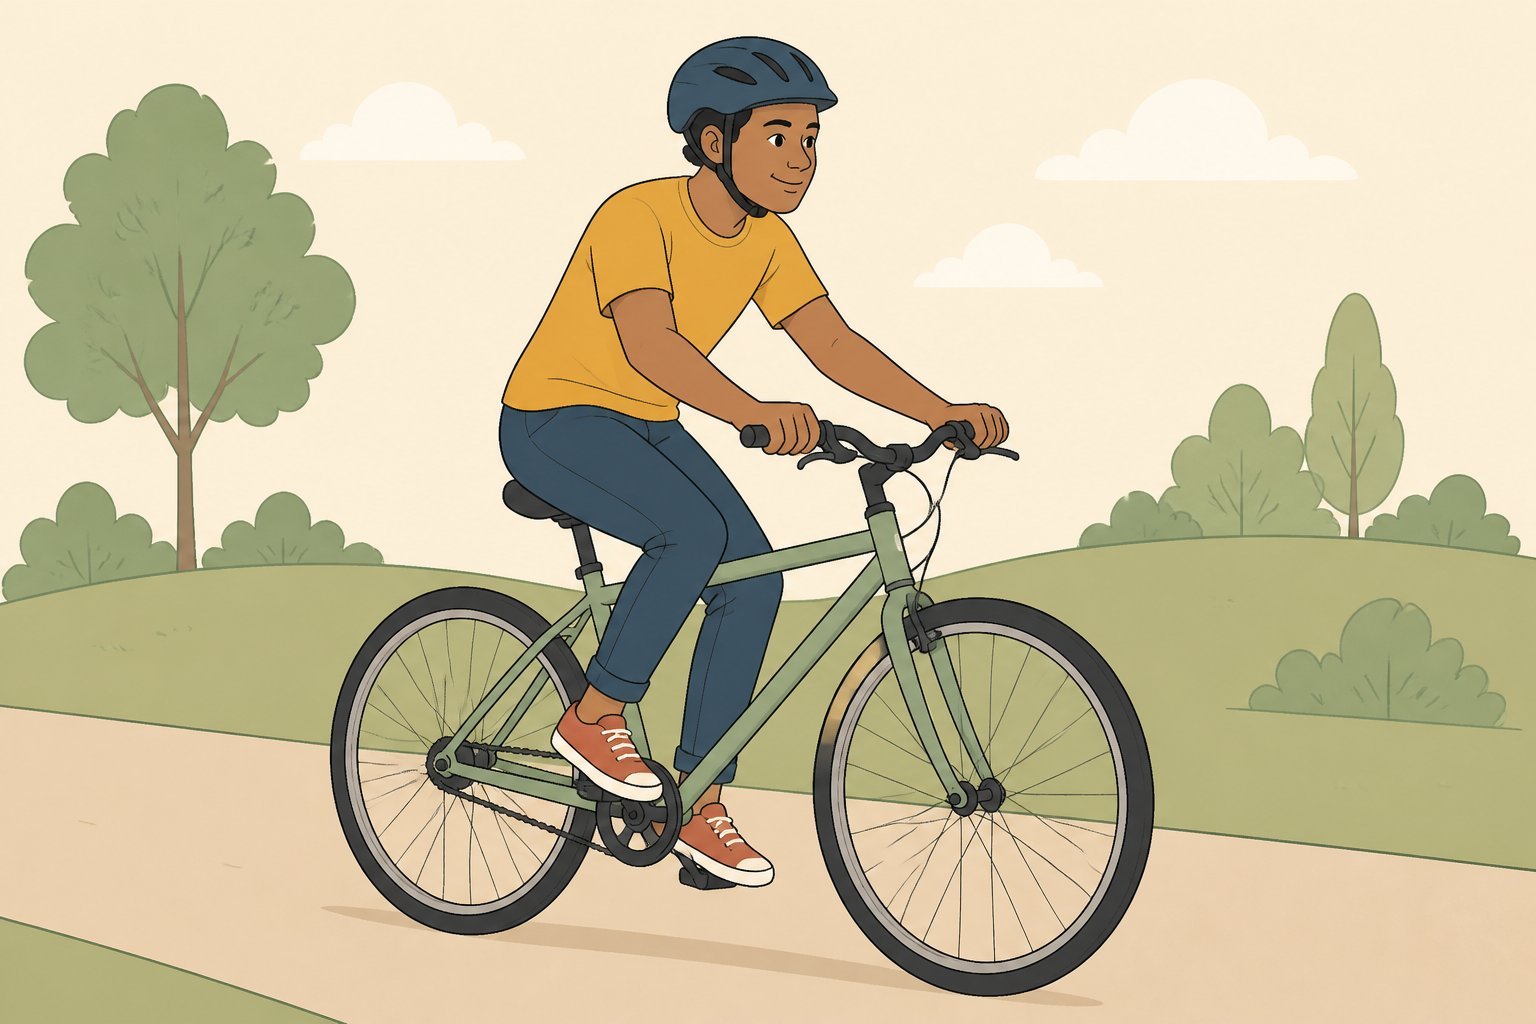
Nobody forgets learning to ride a bike — the wobbling, the white-knuckle grip on the handlebars, the moment balance finally clicks and suddenly you’re just… moving. If you never got that moment as a kid, or if it’s been so long you’re basically starting from scratch, you’re not behind. Adults learn to ride a bike every day, and with the right approach it usually takes a lot less time than people expect.
This step-by-step guide covers everything from picking the right bike to your first proper bike ride — including the one technique that makes learning to balance and pedal dramatically easier than the way most people were taught.
Get the Right Bike Before You Do Anything Else
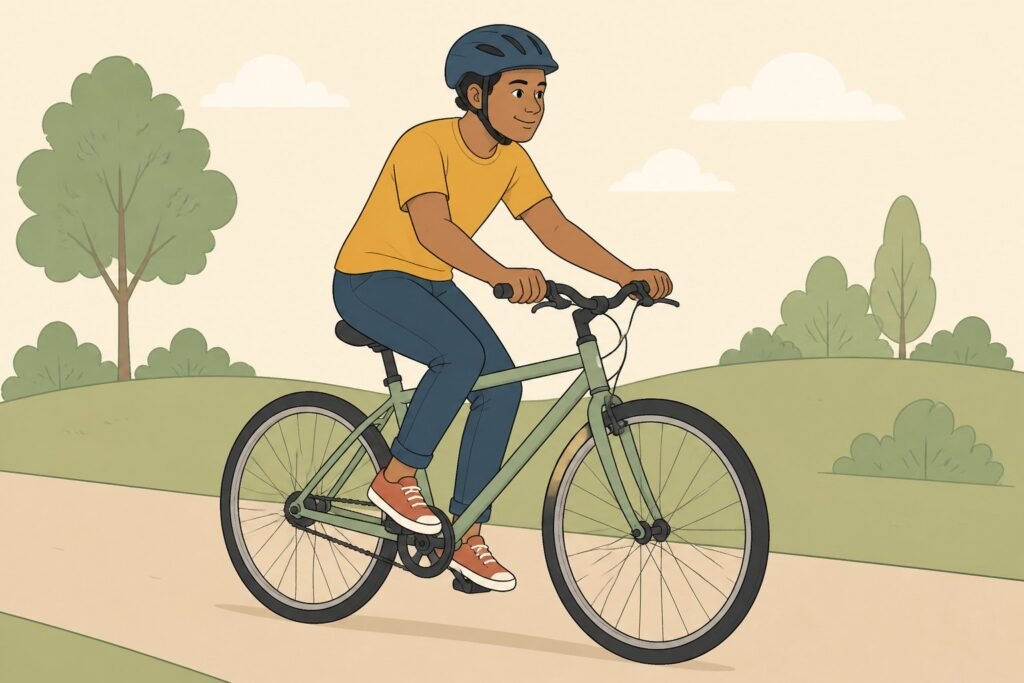
Trying to learn on the wrong bike is one of the most common reasons people struggle. A bike that’s too big, too heavy, or poorly adjusted makes everything harder — balance, control, confidence, all of it.
Bike Size Matters More Than You Think
The right bike for a beginner is one where you can sit on the seat with both feet flat on the ground, or very close to it. This feels different from what experienced cyclists ride — they typically have their bike seat higher for pedaling efficiency. But when you’re learning, being able to put your foot on the ground easily is what lets you feel safe enough to actually practice.
Use a bike size guide to get the right frame size for your height before you buy or borrow. A bike that fits is the foundation everything else is built on.
For most adults learning to ride a bike, a simple flat-bar city or hybrid bicycle works well. A road bike with drop handlebars is harder to balance on as a beginner. Keep it simple.
Adjust the Seat Height First
Before your first session, lower the seat so your feet sit flat on the ground when you’re seated. You’ll adjust the seat height back up later once you’ve found your balance — but for the first few sessions, ground contact is your safety net.
Also make sure the handlebar height is comfortable. You shouldn’t be hunched over or straining upward. A neutral, relaxed arm position makes it much easier to control the bike.
Gear Up: What to Wear Before You Ride
Falls happen when you’re learning. That’s not pessimism — it’s just physics. A few minutes of prep can save you from scrapes and bruised confidence.
At minimum, wear a properly fitted helmet. It should sit level on your head, about two fingers above your eyebrows, snug enough that it doesn’t rock side to side. Everything else is optional but useful: elbow and knee pads take the sting out of the inevitable stumble, and knee pads in particular protect your shins on the pedals during awkward dismounts.
Wear closed-toe shoes with a flat sole — trainers work perfectly. Avoid sandals, loose laces, or anything that could catch in the wheel or pedal mechanism.
Find the Right Place to Learn to Ride
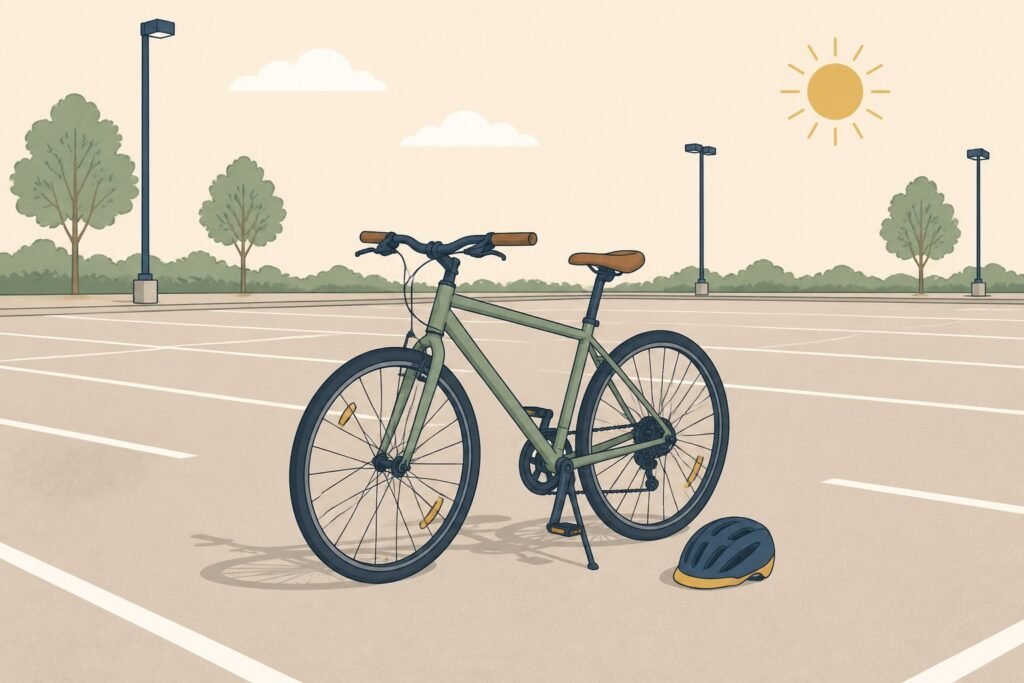
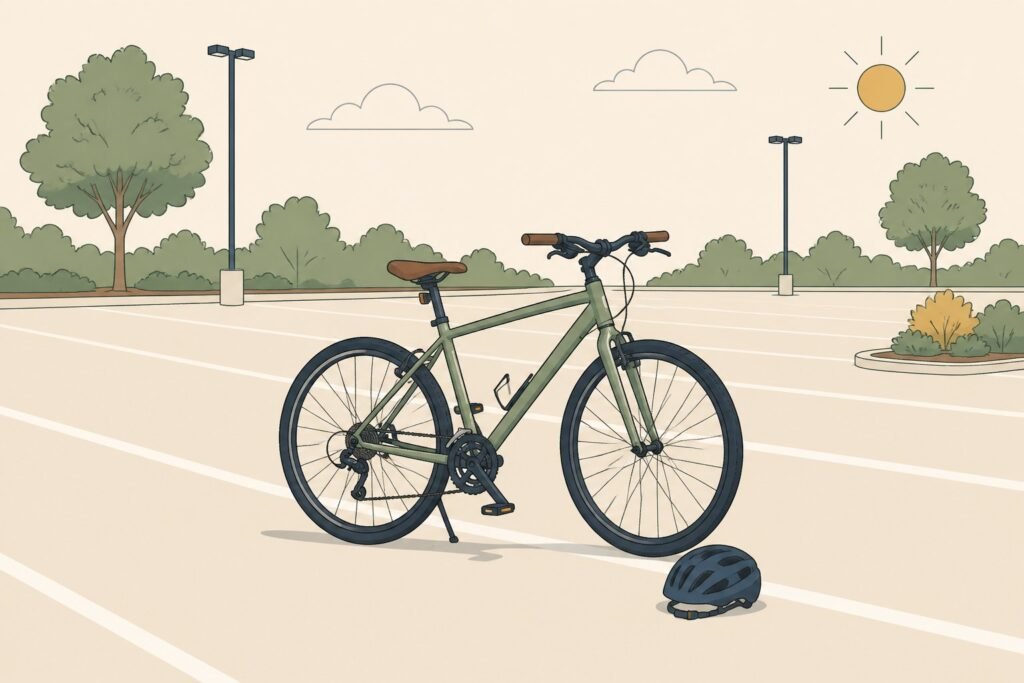
The ideal place to learn is a flat, open, smooth surface away from traffic. A tennis or basketball court or a parking lot on a quiet weekend morning is perfect. You want enough space to glide and make wide turns in both directions without worrying about road users or obstacles.
Avoid grass for the early stages — it’s slower, bumpier, and makes it harder to get a feel for balance. Avoid hills too. A very gentle, barely perceptible downward slope can help in the gliding phase, but any real gradient introduces speed before you’re ready for it.
Once you’re comfortable and riding confidently, you can move onto proper paths, cycle lanes, and bike lanes — but start somewhere forgiving.
The Gliding Method: How to Learn Balance First
Most people were taught to ride a bike with training wheels — which actually delays learning to balance rather than teaching it. The gliding method is faster and more effective, and it’s how cycling instructors now teach both children and adults.
Step 1: Remove the Pedals (Temporarily)
The first step in learning to ride using this method is to remove the pedals entirely. This turns your bicycle into something close to a balance bike — a pedal-free bike that forces you to learn balance through scooting and gliding before adding the complication of pedaling.
Use a pedal wrench or a standard 15mm spanner. The left pedal unscrews clockwise (reverse thread); the right pedal unscrews counter-clockwise. Set them aside somewhere you won’t lose them.
Step 2: Sit on the Bike and Walk It Forward
Get on the bike and sit on the seat with your feet flat on the ground. Start by pushing the bike along with both feet, walking it forward slowly. Get comfortable with the weight of the bike and how it responds when you turn the handlebar.
Practice turning gently in both directions. Notice how the bike wants to tip when you turn — that’s what you’ll be counterbalancing instinctively once you start gliding.
Step 3: Start Gliding
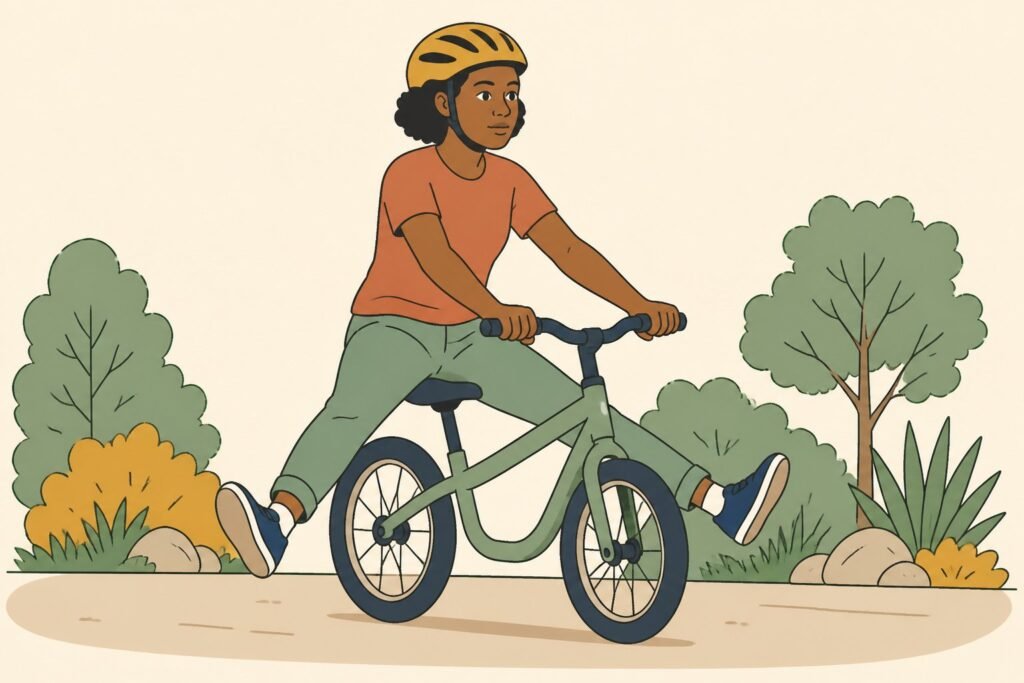
Once walking the bike feels natural, start scooting — push off with both feet at the same time and lift your feet off of the ground for a second, letting the bike glide forward underneath you. Start with just a moment of gliding and extend it as your confidence grows.
Focus on staying upright and looking ahead, not down at the ground. The further ahead you look, the more naturally you’ll stay balanced. This is the core stage of learning to ride — every second your feet are off the ground, your body is learning to balance on two wheels.
Keep practicing until you can glide for several seconds comfortably, with your feet off the ground and your weight centered over the bike. Some people reach this point in 20 minutes. Others take a few sessions. Either is fine.
Learning to Pedal: Put the Pedals Back On
Once you can glide with confidence, it’s time to put the pedals back on. Reverse the removal process — right pedal tightens clockwise, left pedal tightens counter-clockwise.
Step 4: The One-Pedal Start
Learning to pedal from a standstill is the part where most beginners get stuck. The trick is the one-pedal start.
Place one pedal in the two o’clock position — slightly forward and above the center point. Put your foot on a pedal in this position and push down firmly as you push off. That initial push gives you forward momentum and enough speed to balance before your second foot comes up to the pedal. Getting this start position right makes everything click.
Practice getting the feel of pushing off and placing both feet on the pedals in those first few rotations. Don’t look down — trust your feet to find the pedals and keep your eyes forward.
Step 5: Practice Pedaling and Steering
Once you can start reliably, practice pedaling and steering together. Keep pedalling smoothly — stopping your pedal stroke makes the bike unstable at low speeds. Make wide turns in both directions, gradually tightening your turning radius as you get more comfortable.
Try doing large figure eights when you feel ready. This builds the steering control you’ll need for real-world cycling more than riding in a straight line will.
Learn to Brake Properly — This Step Is Non-Negotiable
A lot of beginner cyclists focus entirely on going and forget about stopping. That’s backwards. Learning to brake confidently should happen early, not after you’ve already built up speed.
Most bikes have hand brakes — a lever on each side of the handlebar. The right lever typically controls the rear brake; the left controls the front. Use both together for controlled, smooth stops. Grabbing only the front brake sharply can pitch you over the handlebars. Relying only on the rear brake means longer stopping distances.
Practice stopping: ride forward and practice stopping every 15 to 20 feet, coming to a smooth halt with both feet ready to catch you. This builds the muscle memory that keeps you safe when you eventually need to stop quickly in traffic or on a busy path.
Once you understand the hand brakes, stopping becomes one of the most confidence-building skills in early cycling. The more you trust your ability to stop, the more willing you are to go faster and try new things.
Preparing for Your First Real Bike Ride
After a few practice sessions — typically 2 to 4, depending on the person — most beginners are ready for their first bike ride on a proper path.
Before you head out:
- Adjust the seat height back up so your leg has a slight bend at the bottom of the pedal stroke. This is better for your knees and makes it easier to keep pedalling efficiently over longer distances.
- Practice starting and stopping a few more times in your practice space.
- Check your front and rear brakes — squeeze each lever and make sure it engages firmly before you ride.
- Plan a short, quiet route for your first real ride. A traffic-free cycle path or a quiet road early on a weekend morning is ideal.
Start with a short loop and build from there. The first time you ride a bike on a real path, through a turn, past other people — it feels completely different from the parking lot. Give yourself a few rides to adjust.
Teaching a Child to Ride a Bike
The gliding method above works just as well for teaching a child to ride — arguably better, since kids adapt faster and a balance bike is the natural starting point at that age.
For young children (3–5), a proper balance bike without pedals is the ideal first bicycle. They develop balance instinctively through play, and many kids transition directly to a regular bicycle without ever using training wheels.
For older children who already have a bike with training wheels, the fastest path forward is to remove the training wheels (and temporarily the pedals), lower the seat, and go through the same gliding process described above. Teaching children this way typically takes one afternoon rather than weeks of wobbling with training wheels attached.
A few tips specific to teaching children:
- Keep sessions short — 20 to 30 minutes max. Frustration sets in fast when kids are tired.
- Stay alongside them rather than holding the back of the seat. Holding the bike creates a dependency that’s hard to break.
- Celebrate every small win — a 3-second glide is worth cheering for.
There’s Only One Thing Left to Do
You now know exactly how to ride a bike, what gear you need, where to practice, and how to progress from gliding to your first real ride. The information is here.
The only thing that gets you actually riding is going outside with a bike and doing it. Pick a morning this week. Find your parking lot or quiet path. Take the pedals off and start gliding.
Like riding a bike, once it clicks — it really does stay with you.