Table of Contents
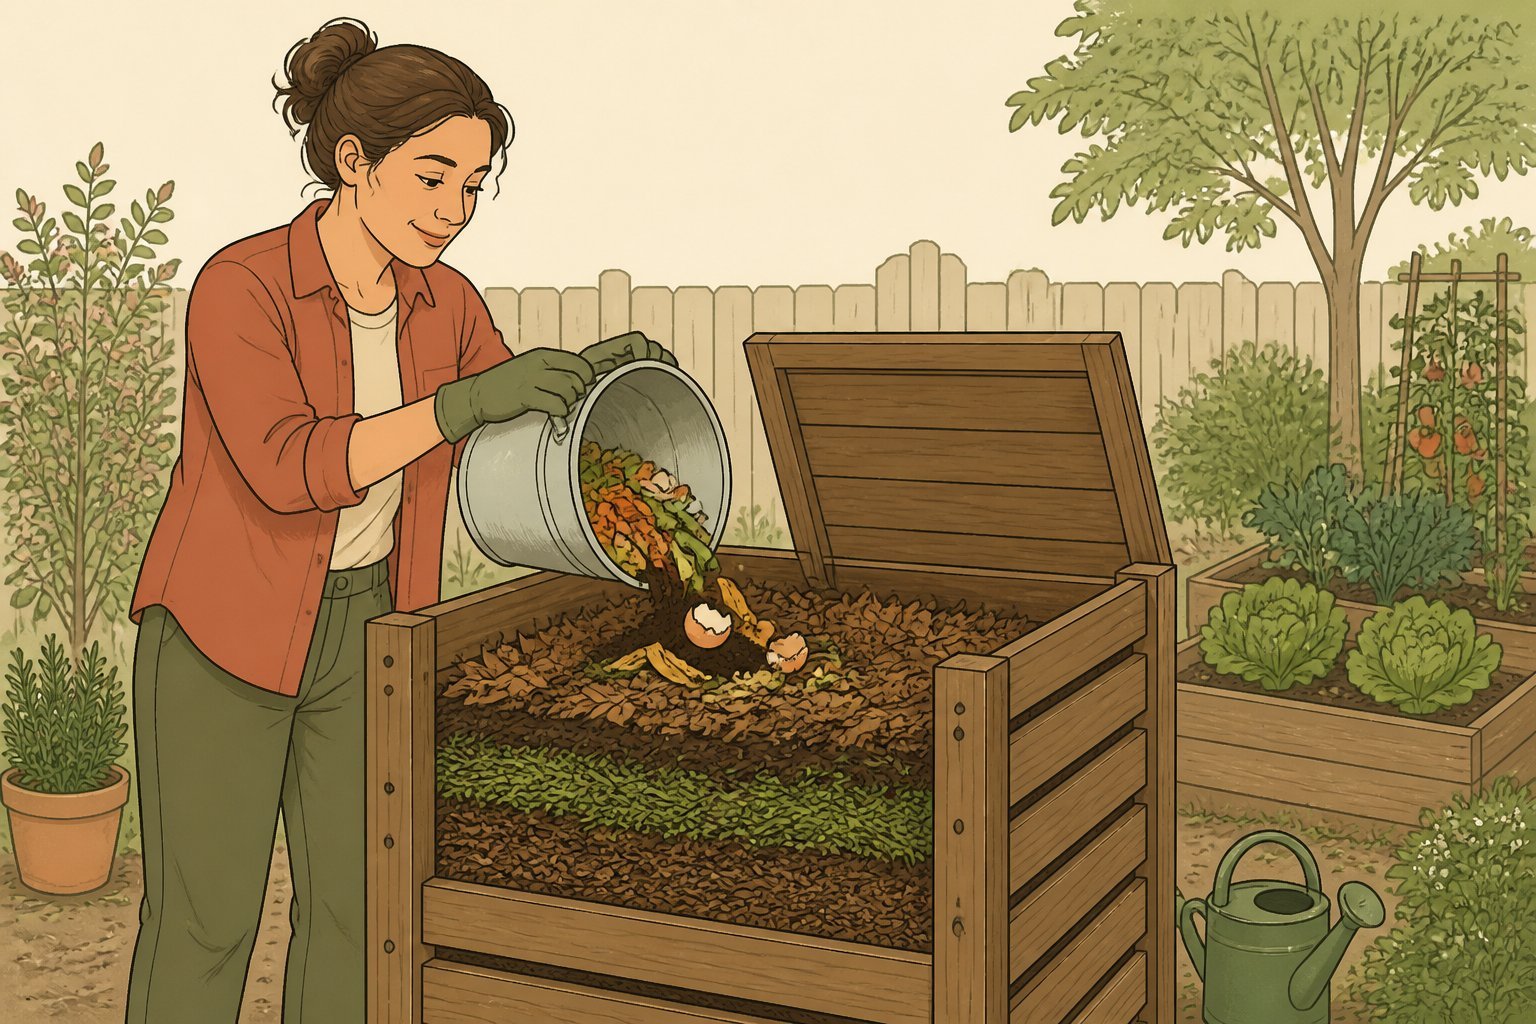
About 30% of what you throw in the trash could be compost instead. Vegetable peels, coffee grounds, grass clippings, cardboard — it all breaks down into something your garden actually wants. And yet most of it goes straight to a landfill, where it produces methane instead of nutrients.
Composting is a great way to recycle organic waste you already generate at home, cut down on what you send to the landfill, and build better soil without buying bags of amendments. It doesn’t require a big yard, a lot of tools, or any specialized knowledge. What it does require is understanding a few basics — and then just doing it consistently.
Here’s everything you need to start your first compost pile and see it through to finished compost.
Composting Basics: What Compost Is and Why It Works
Compost is decomposed organic material — called compost by gardeners, called nutrient-rich dark brown crumbly matter by everyone who’s seen finished compost and been quietly impressed by it. It’s what happens when microorganisms, fungi, and worms break down organic waste into a stable soil amendment your plants can absorb directly.
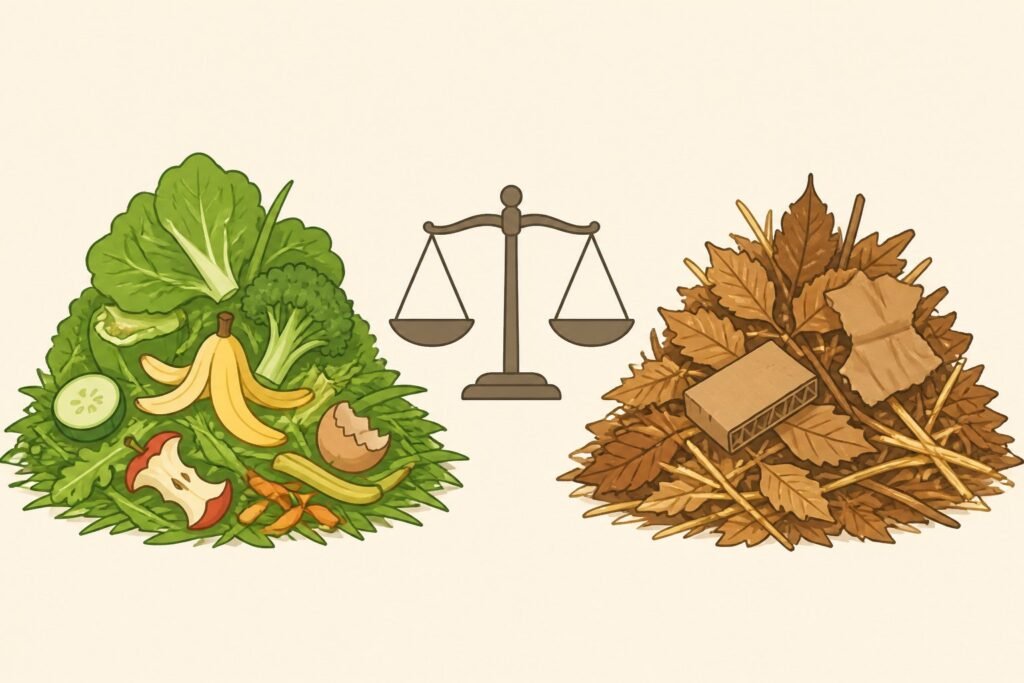
The composting process works because of two things: carbon and nitrogen. Carbon-rich material — brown leaves, cardboard, paper, straw — provides energy for the microbes doing the decomposition work. Nitrogen-rich material — food scraps, grass clippings, fresh garden waste — provides the protein those microbes need to reproduce and keep breaking things down.
Get the balance right and your compost pile will break down efficiently, generate heat, and be ready to use in two to six months. Get it wrong and you get either a slimy, smelly pile (too much nitrogen) or a dry pile that just sits there doing nothing (too much carbon).
The rough target: about 3 parts carbon-rich brown material to 1 part nitrogen-rich green material by volume.
What Goes In — and What Stays Out
Knowing what to add to the compost is where most beginners get stuck. The list is longer than you’d expect.
What You Can Compost
From the kitchen:
- Vegetable and fruit scraps — peels, cores, tops, rinds
- Coffee grounds and paper filters
- Tea bags (if paper-based, not plastic mesh)
- Eggshells (they break down slowly but add calcium)
- Plain cooked grains and bread in small amounts
- Food scraps from plant-based meals
From the yard:
- Grass clippings (in thin layers — they mat together if piled thick)
- Dry leaves — excellent carbon-rich material
- Garden waste: stems, spent plants, old flowers
- Small twigs and wood chips, broken up
From around the house:
- Cardboard torn into pieces — great for carbon
- Newspaper and plain paper
- Paper bags, paper towel rolls, egg cartons
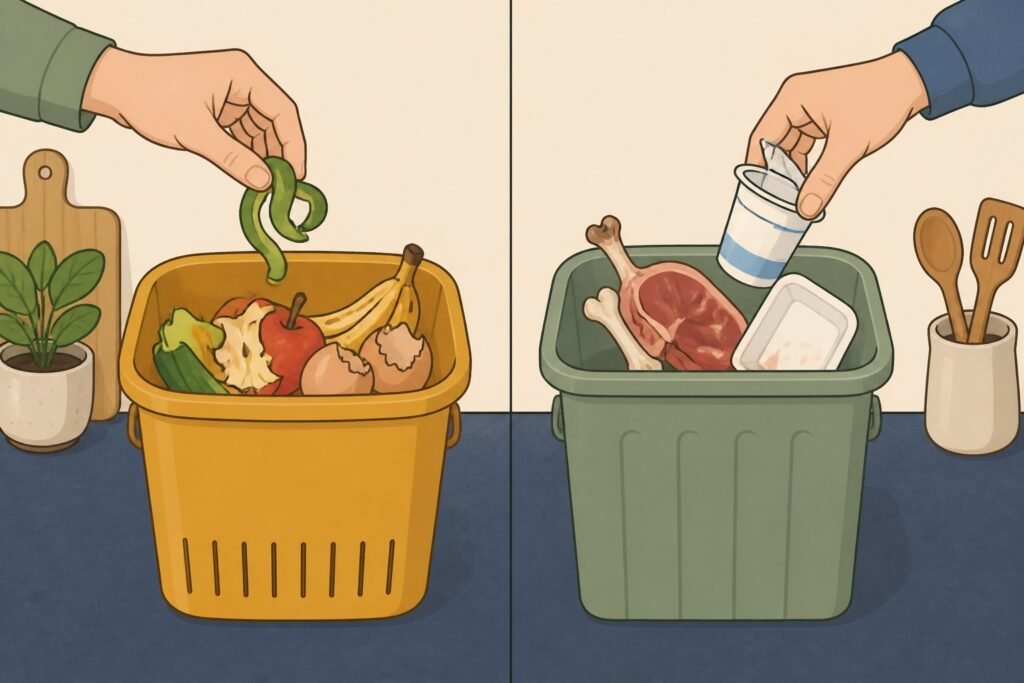
What to Keep Out
- Meat, fish, and bones — they attract pests and create odor
- Dairy products — same problem
- Pet waste — can contain pathogens that survive the composting process
- Diseased plants — disease can survive and reinfect your garden
- Anything treated with pesticides
- Oils and fatty food waste
The rule of thumb: if it came from a plant and it isn’t diseased or treated, it can almost certainly go into the compost.
Choosing Your Compost System
You don’t need a fancy setup to make compost at home. The right compost system depends on how much space you have, how much organic waste you generate, and how hands-on you want to be.
Open Compost Heap
The simplest option: a pile in the corner of your yard. No bin, no cost. You add waste to the pile, turn it occasionally, and wait. It works, but it’s slower and more prone to pest interest than an enclosed system. Best for people with a lot of garden waste and a bit of unused yard space.
Compost Bin
A compost bin — either a plastic bin from your local garden center or a DIY wooden one you build yourself — keeps the pile contained, retains heat and moisture, and discourages pests. Most plastic bins have an open bottom so worms and microbes from the ground can get in. Place the bin directly on soil rather than concrete, in a spot with partial shade.
You can build your own bin from wooden pallets or timber in an afternoon. A simple three-sided enclosure about one cubic meter in size is all you need to generate enough heat for active decomposition.
Compost Tumblers
A tumbler is a sealed drum mounted on a frame that you rotate to mix the contents. Compost tumblers are fast — some can produce mature compost in as little as three to four weeks under the right conditions — and they’re completely sealed, which means no pest access. The trade-off: they’re more expensive and you can’t add worms, since the sealed environment gets too hot for them.
Worm Composting (Vermicomposting)
Worm composting uses a worm bin filled with red wriggler worms to break down kitchen scraps directly. You can keep a worm bin indoors — under the kitchen sink, in a garage, or on a balcony — which makes it a practical option for people without a yard.
Worms process food scraps fast and produce worm castings: a concentrated, nutrient-rich compost that’s considered some of the best organic material you can add to garden soil. Worm composting requires a bit more attention than a standard pile, but the results are hard to beat for container gardeners.
How to Build and Layer Your Compost Pile
Getting your compost started right makes everything easier after that.
- Choose your location. Place the bin or heap in a spot with partial shade. Full sun dries it out too fast; full shade slows decomposition.
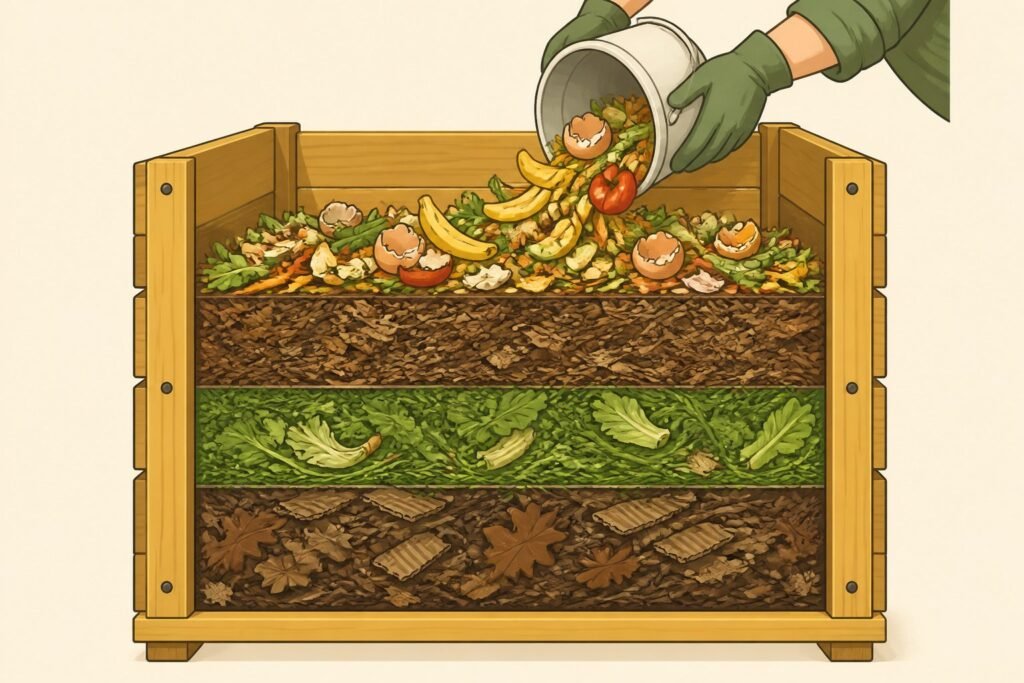
- Start with a brown base. Put a layer of carbon-rich material — dry leaves, torn cardboard, straw — about 4–6 inches deep at the bottom of the bin. This helps with drainage and airflow.
- Add a green layer. Food scraps, grass clippings, fresh garden waste — about 2 inches on top of the brown base.
- Alternate layers. Keep going with that green and brown pattern as you add waste to the pile over time. You don’t need to be exact — just make sure you’re not adding a huge amount of one material without balancing it with the other.
- Keep it moist. Your compost pile should feel like a wrung-out sponge — damp but not dripping. If it’s too dry, nothing will break down. If it’s too wet, it goes anaerobic and starts to smell. Add water during dry periods or mix in dry brown material if it gets soggy.
- Add a thin layer of garden soil. A handful of soil added to the compost introduces microorganisms that speed up the composting process. You only need to do this once when you start.
How to Turn Your Compost and Speed Things Up
A passive compost pile will break down on its own given enough time. If you want faster results, turning the pile is the single most effective thing you can do.
Turn your compost every one to two weeks using a garden fork or a compost aerator tool. What you’re doing is moving material from the outside of the pile — where it’s cooler and decomposing slowly — into the center, where the temperature of the pile is highest and decomposition is most active. You’re also introducing fresh air, which the aerobic bacteria responsible for breaking things down need to keep working.
A few other ways to speed up the composting process:
- Cut or shred materials before adding them. Smaller pieces have more surface area and break down faster. Tear cardboard, chop vegetable scraps, shred leaves.
- Make sure the pile is big enough. A compost heap smaller than about one cubic meter can’t generate and retain enough heat to decompose efficiently. If your pile is small, it’ll work — just more slowly.
- Add nitrogen-rich material when the pile stalls. Fresh grass clippings, diluted urine (genuinely effective and free), or a nitrogen fertilizer can restart a sluggish pile.
- Keep the moisture right. Dry piles go dormant. Check and water if needed.
How to Know When Compost Is Ready to Use
Finished compost doesn’t look like what you put in. Compost is dark brown, crumbly, and smells like fresh earth — not like rotting food. You shouldn’t be able to identify individual pieces of what was added to the compost. If you can still see carrot tops and eggshells, it’s not done yet.
The composting process typically takes:
- 2–3 months with regular turning and ideal conditions
- 4–6 months with occasional turning
- 6–12 months for a passive, low-maintenance heap
If your pile is part-finished — some bits are mature compost and some aren’t — you can screen it. Pass it through a simple wire mesh screen; the finished compost falls through and you toss the unfinished bits back into the active pile.
Don’t rush to use fresh compost in your garden before it’s fully mature. Immature compost can actually tie up nitrogen in the soil temporarily, working against your plants rather than for them.

How to Use Compost in Your Garden
Once your compost is ready to use, you’ve got one of the most useful things in gardening. Compost can be used in several ways depending on what your garden needs.
As a Soil Amendment
Work 2–4 inches of compost into the soil before planting. Dig it in to about 6–8 inches deep. This improves soil structure, adds nutrients, and increases the soil’s ability to hold water — which matters a lot in both sandy and clay-heavy soils. Mixing compost into the soil is the most direct way to use compost and improve growing conditions for vegetables, flowers, and shrubs.
As a Mulch
Spread a 1–2 inch layer of compost around established plants as a top dressing. It suppresses weeds, retains moisture, and slowly releases nutrients into the garden soil as it breaks down further. Don’t pile it against plant stems — keep a gap around the base.
In Potting Mixes
Add compost to container potting mixes at a ratio of about 1 part compost to 3 parts potting soil. Compost help improves drainage in dense mixes and adds nutrients that standard potting soil often lacks after a few months.
For Lawn Care
Top-dress your lawn by spreading a thin layer of compost — about a quarter inch — across the grass in spring or autumn and raking it in lightly. It feeds soil and plants without the burst-and-crash of synthetic fertilizers.
Common Compost Problems and How to Fix Them
Even a well-managed compost pile runs into issues. Here’s what’s usually going wrong and how to correct it.
Pile smells like ammonia or rotting food. Too much nitrogen-rich material. Add more brown material — cardboard, dry leaves, straw — and turn the pile to introduce air.
Pile is dry and nothing is breaking down. Not enough moisture, or too much carbon. Water the pile thoroughly and add fresh nitrogen-rich green material to kick things back off.
Pile is attracting flies or animals. Meat, dairy, or cooked food scraps have likely made it in — or food scraps are sitting exposed on top. Bury food waste in the center of the pile and cover it with a layer of brown material after each addition. An enclosed compost bin solves most pest issues entirely.
Pile isn’t heating up. Could be too small, too dry, or lacking nitrogen. Add fresh grass clippings or food scraps, water it down, and turn it. If the pile is smaller than a cubic meter, consider combining it with your next additions before expecting heat.
You already generate the compost material. Every vegetable scrap, every pile of garden waste, every cardboard box is raw material that your garden can use. The only thing composting requires is a place to put it and a bit of patience.
Start simple — a plastic bin, a patch of ground, or even a worm bin on a balcony. Get the green and brown balance roughly right, keep it moist, turn it when you remember, and leave it alone to do its work. That’s really all there is to it.