Table of Contents
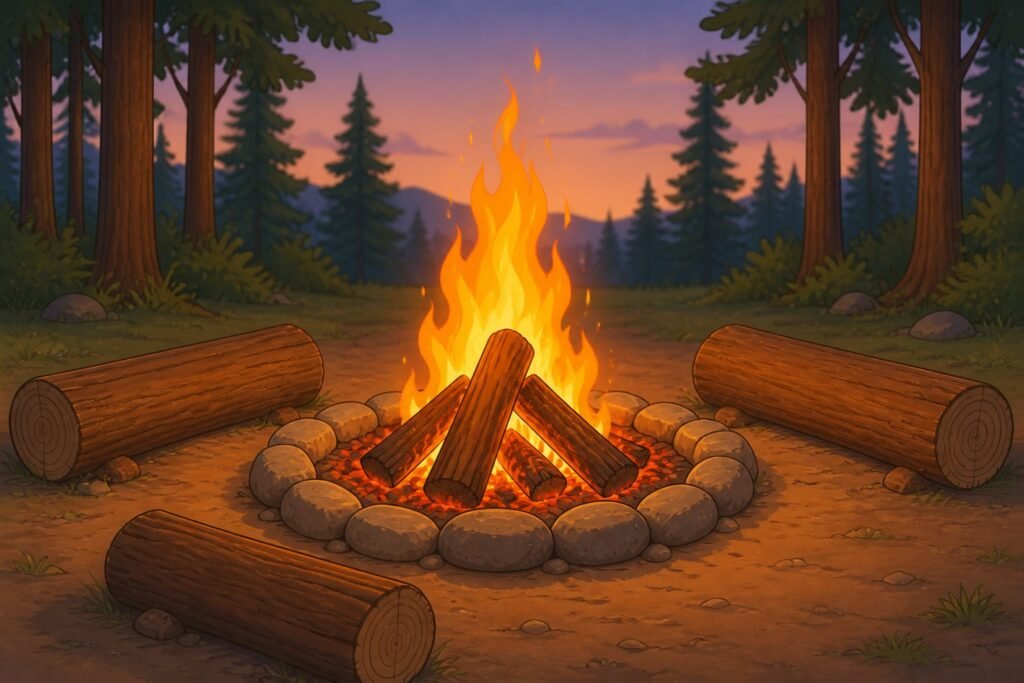
The first time I built my first-ever campfire alone, I had a lighter, a pile of damp logs, and zero clue what I was doing. Forty minutes later: a sad heap of charred twigs and a bruised ego.
Nobody tells you that knowing how to build a campfire is an actual skill. Not a complicated one — but a real one. Do it wrong and you’re in for a miserable night. Do it right and you’ve got warmth, a place to cook food, and one of those fires you just want to sit around for hours.
This guide to building a campfire covers everything: choosing your site, layering your materials, picking the right campfire configuration, keeping it going, and putting it out completely when you’re done. By the end, you’ll know how to build one without the forty-minute embarrassment.
What You’ll Need Before You Start
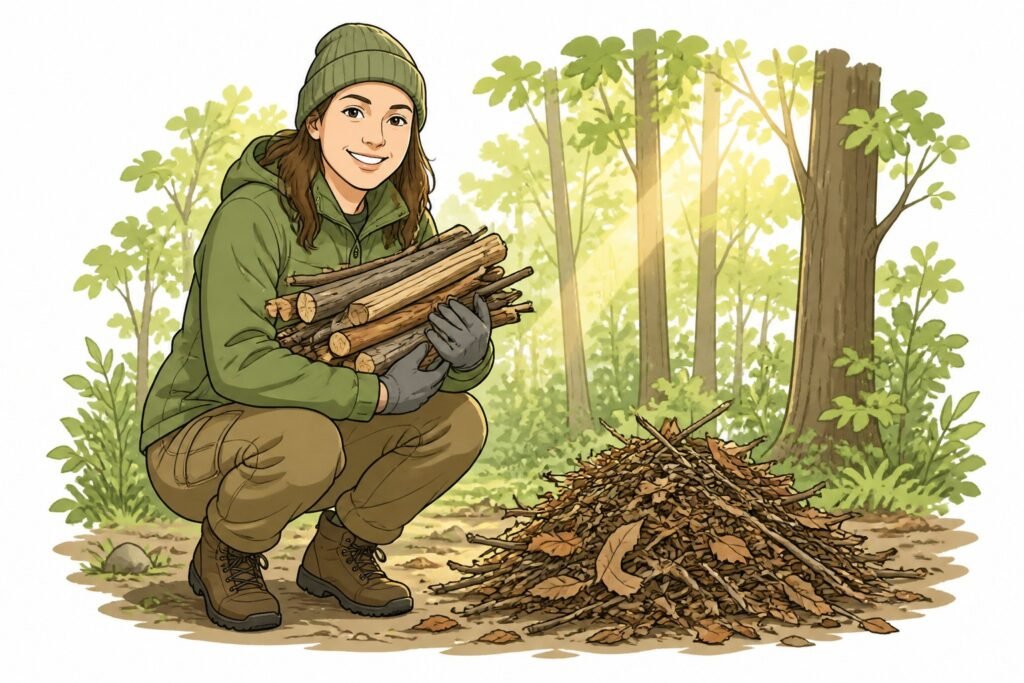
You don’t need a lot of gear to build a campfire. But every item on this list matters.
Fire-starting materials:
- Tinder — dry leaves, pine needles, paper, or a cotton ball coated in petroleum jelly (the vaseline fire starter method is genuinely excellent)
- Small twigs and small sticks, pencil-width
- Medium kindling — finger-thick pieces
- Larger pieces of firewood for sustaining the burn
Tools:
- Matches or a lighter — bring both
- A fire starter stick or fire bricks as backup
- Water or a shovel within reach at all times
The one thing that kills more campfires than anything else? Wet wood. Dry wood snaps cleanly when you break it. If it bends or feels heavy, it’s holding moisture and it won’t ignite properly. You’ll need fully dry material at every layer — especially your tinder and kindling.
Choose Your Site and Make Your Firepit
Use an Existing Fire Ring First
At established campgrounds, you’ll almost always find a designated fire ring already in place. Use it. Those official fire rings exist because the ground has been cleared and tested — and using one means one less thing you have to set up yourself. Always look for an existing ring before you decide to build your own.
How to Make Your Firepit From Scratch
If you’re in a backcountry spot, here’s how to build a firepit safely:
- Clear a 10-foot radius of dry leaves, bark, and debris down to bare dirt
- Dig a shallow pit — about 6 inches deep — in mineral soil
- Make a circle of rocks around the edge to help contain the fire and mark your fire ring
- Never build on peat, dry grass, or anywhere with low-hanging branches above
Those surrounding rocks act like fire bricks — they absorb heat and keep the base of your fire from spreading outward. A well-made fire ring isn’t just for looks. It’s a safety boundary.
One thing a lot of people skip: always check local fire conditions before your next camping trip. Open fire is banned in many areas during dry months. Two minutes of research before you go prevents a serious fine — or worse.
The Three Layers Every Campfire Needs
This is where most beginners go off track. They skip the layering, throw big logs on a lighter, and wonder why the whole thing dies out in three minutes. A solid fire needs three distinct layers working together.
Layer 1: Tinder
Tinder is what you light the tinder with first — the most flammable, fine material in your stack. Good tinder options include:
- Crumbled dry leaves or pine needles
- Shredded paper or cardboard
- A cotton ball rubbed with petroleum jelly
- Commercial fire starter cubes
Shape your tinder into a loose bird’s nest and place it at the center of the fire ring. You want plenty of tinder — a pile about the size of a grapefruit works well.
Layer 2: Kindling
Kindling bridges a tiny flame and a real, burning fire. Start with small twigs, then build up to finger-thick sticks as the fire grows. This kindle stage is where patience pays off.
The most common mistake: moving to logs before the kindling has fully caught. Give it time. Let the small sticks glow before you add more weight.
Layer 3: Logs
Once your kindling is burning steadily, start to add larger pieces. Begin with pieces of wood about wrist-thick. Work your way up to a large log once you’ve got a proper base of hot coals forming underneath. Don’t rush this part.
Campfire Configurations: Teepee vs. Log Cabin
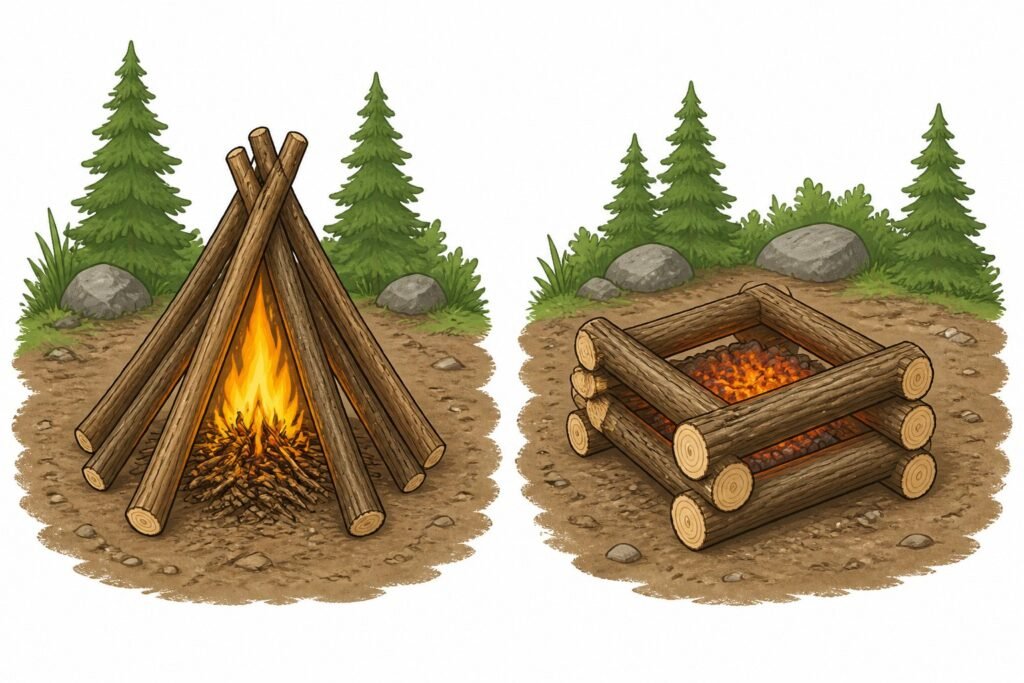
There’s no single perfect campfire shape — the right campfire configuration depends on what you want the fire to do.
The Teepee
Stack your kindling and logs in a cone shape around your tinder bundle. Airflow moves straight up through the center, the fire burns hot and fast, and it’s easy to add more wood as needed. This is the easiest build for most people.
Best for: heat, light, atmosphere
The Log Cabin
For a log cabin fire, stack your logs in alternating grid layers — two running parallel, two crossing on top. The structure burns more slowly, produces a deep bed of hot coals rather than tall flames, and collapses evenly for cooking.
Best for: cooking, longer burns, controlled heat output
For most situations: start a teepee to get your fire going, then add logs in a log cabin pattern as the fire burns down and you want it to settle.
Starting Your Campfire
You’ve laid the tinder, built your kindle structure, and positioned your larger pieces. Now you start the fire.
- Use matches or a lighter to light the tinder from the bottom or windward side
- Blow gently just below the base of your fire — not into the flames, but at the base where the tinder is glowing
- As the tinder catches, the kindling above should begin to ignite
- Add more kindling carefully — don’t smother what’s already going
- Once the fire is building steadily, begin adding larger pieces of firewood, one at a time
The most common reason a fire won’t work at this stage? Piling on too much wood too fast. A fire needs oxygen. Block the airflow and you starve it out before it has a chance.
If the wind is giving you trouble, use your body to block it and light from the sheltered side.
Keeping the Fire Going
Once you’ve got a burning fire going, the work isn’t quite done.
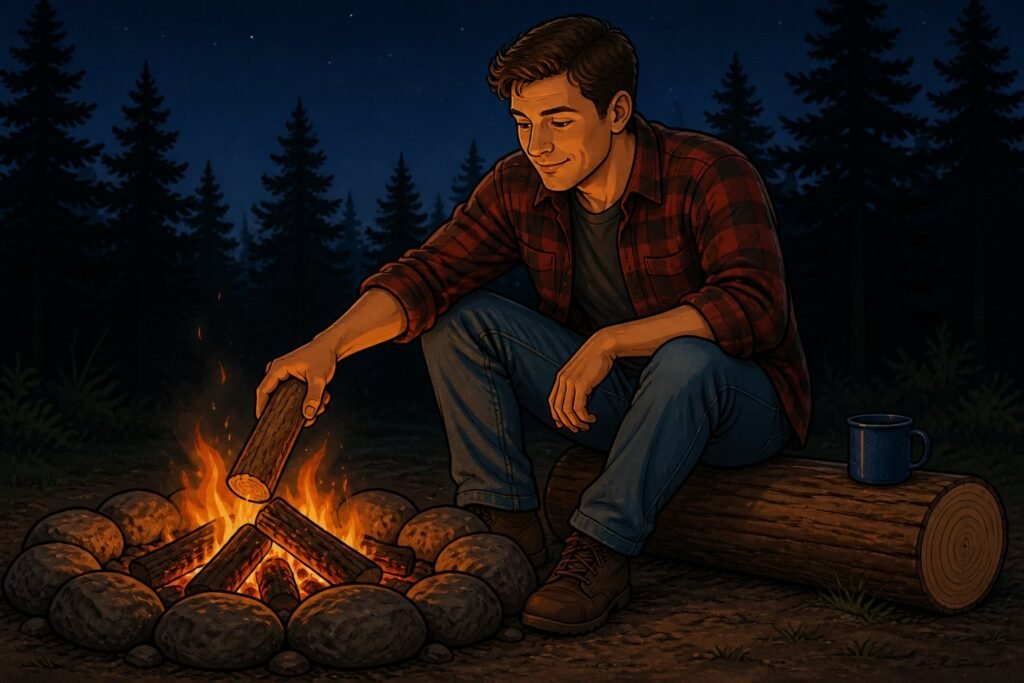
- Add more wood as needed — but one log at a time
- Add larger logs gradually, not all at once
- When the fire burns down to coal and ember, that’s actually the sweet spot for cooking — even heat, no huge flames
- If the fire starts fading, add dry kindling first to get the fire going again before reaching for the big logs
Keep the fire small enough to manage. A fire small enough to control beats a roaring one you can’t. Especially in wind, a smaller fire burns more safely and stays lit more reliably.
Tip: keep a small reserve of dry tinder nearby. If the fire dips unexpectedly, you can revive it fast without scrambling.
Fire Safety: What Actually Matters
Most campfire accidents come down to one thing — someone stopped paying attention. Here’s what you genuinely need to follow:
- Never walk away from a fire. Not even briefly. Not even to grab a jacket.
- Keep kids and pets back from the fire ring at all times
- Don’t burn plastic, garbage, or treated wood — the fumes are toxic and the flare-ups are unpredictable
- Know the wind direction and watch it — embers travel further than you think
- Always have water or loose dirt nearby to extinguish the fire fast if something goes wrong
- Build fires only on bare earth, never on peat or dry grass
The fire ring is a safety tool, not decoration. It’s there to help contain the fire — respect the boundary it creates.
How to Extinguish the Campfire Completely
This is the step most people rush. It’s also the most important one. Improperly extinguished campfires start wildfires.
How to Extinguish Your Fire the Right Way
- Stop adding wood at least 20–30 minutes before you plan to leave or go to sleep
- Let the fire burn down to ash as much as possible on its own
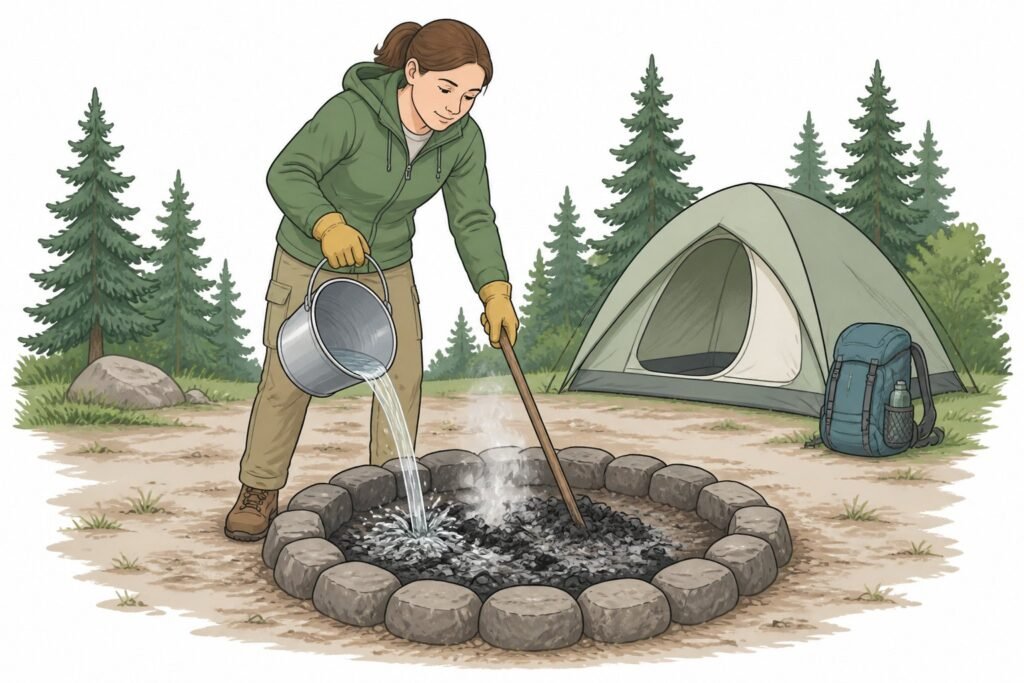
- Pour water over the hot coals slowly — stirring with a stick between pours
- Keep going until everything is cool to the touch — not just warm, actually cold
- If you have no water, use dirt or sand to smother the coals, but water is always the better option
How Do You Know It’s Out?
If there’s still steam rising, the fire is not out. If the remains when the fire has been doused feel warm at all, keep going. The fire is out and safe only when the ash is completely wet and cold.
Never bury hot coals — they can smolder underground for hours and reignite on their own. To extinguish the campfire completely, be thorough. Every time.
Go Build One
Once you’ve got a good campfire going — one you built yourself, from scratch — you’ll understand why people have been doing this for thousands of years. There’s something genuinely satisfying about sitting around a fire you made.
Start with dry wood. Layer your tinder, kindle, and firewood with intention. Pick your campfire configuration based on what you actually need the fire to do. Keep it manageable. And when it’s over, extinguish it completely — no exceptions, no shortcuts.
Go ahead and admire your campfire when it’s blazing. You earned it.