Table of Contents
You’re going about your day, brush your hand against a wooden fence or a rough floor, and suddenly there’s that sharp little sting — a splinter has embedded itself in your skin. You can barely see it, but you can definitely feel it. And now you’re squinting at your finger wondering if you should dig it out or just leave it and hope for the best.
Leave it too long and you risk infection. Dig around blindly and you risk breaking it off deeper inside. The good news? Most splinters can be safely removed at home in a few minutes, with tools you already have. Here’s exactly how to do it.
Before You Start: Prep the Affected Area
Before you touch the splinter, prep matters. Rushing in with dirty hands or a dull pair of tweezers is how a minor annoyance turns into a swollen, infected finger.
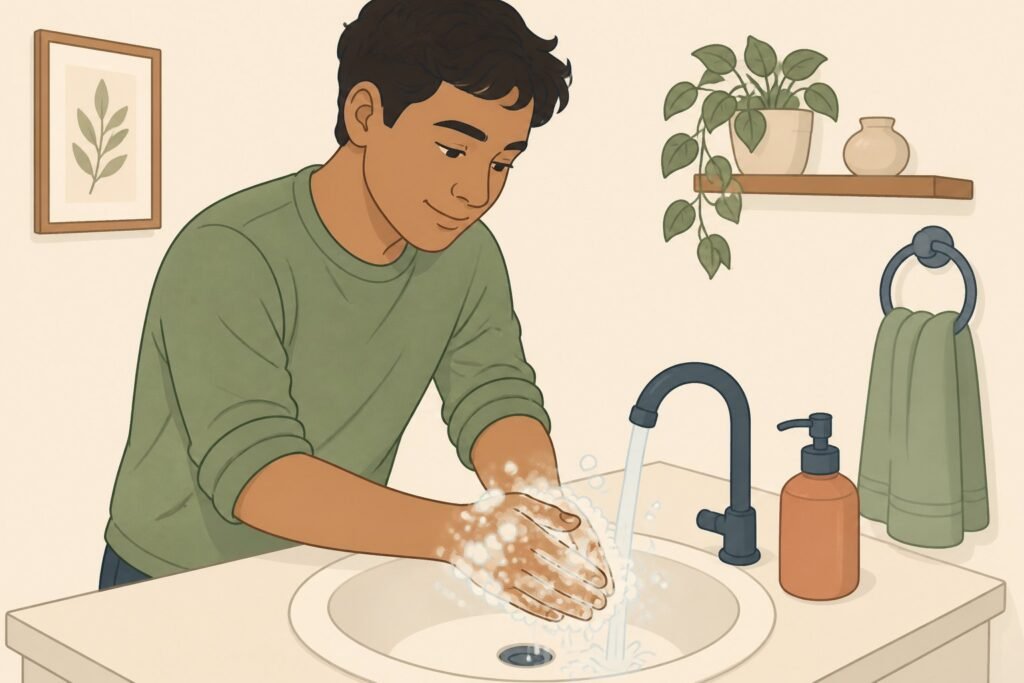
Wash Your Hands First
Wash your hands with soap and water — properly, not just a quick rinse. You’re about to break the skin’s surface, so bacteria on your hands can easily enter the wound. Same goes for the affected area: wash the area around the splinter with soap and water and pat it dry.
Sterilize Your Tools
Get a pair of tweezers and a small needle. Sterilize both with rubbing alcohol before you use them. This takes about ten seconds and could save you a lot of trouble later. If you don’t have rubbing alcohol, holding the tip of the needle over a flame until it glows works too — just let it cool before you touch skin.
Get Good Light and a Magnifying Glass
Good lighting is non-negotiable. Natural light near a window is ideal. A magnifying glass makes a real difference, especially if the splinter is very small or partially below the surface of the skin. You need to examine the splinter closely before you decide which removal method to use.
How to Identify What You’re Dealing With
Not all splinters are the same, and your approach should match the situation.
A piece of wood, thorn, or glass that’s sticking out above the skin is a simple job for tweezers. A splinter that’s fully embedded, where the entire splinter is under the skin with no visible end, needs a needle first. The length of the splinter and the angle it entered the skin will tell you whether a quick pull is possible or whether you need a more careful approach.
Check which direction the splinter entered the skin. You want to pull it out along the same path it went in — pulling at the wrong angle will cause the splinter to break, which makes everything harder.
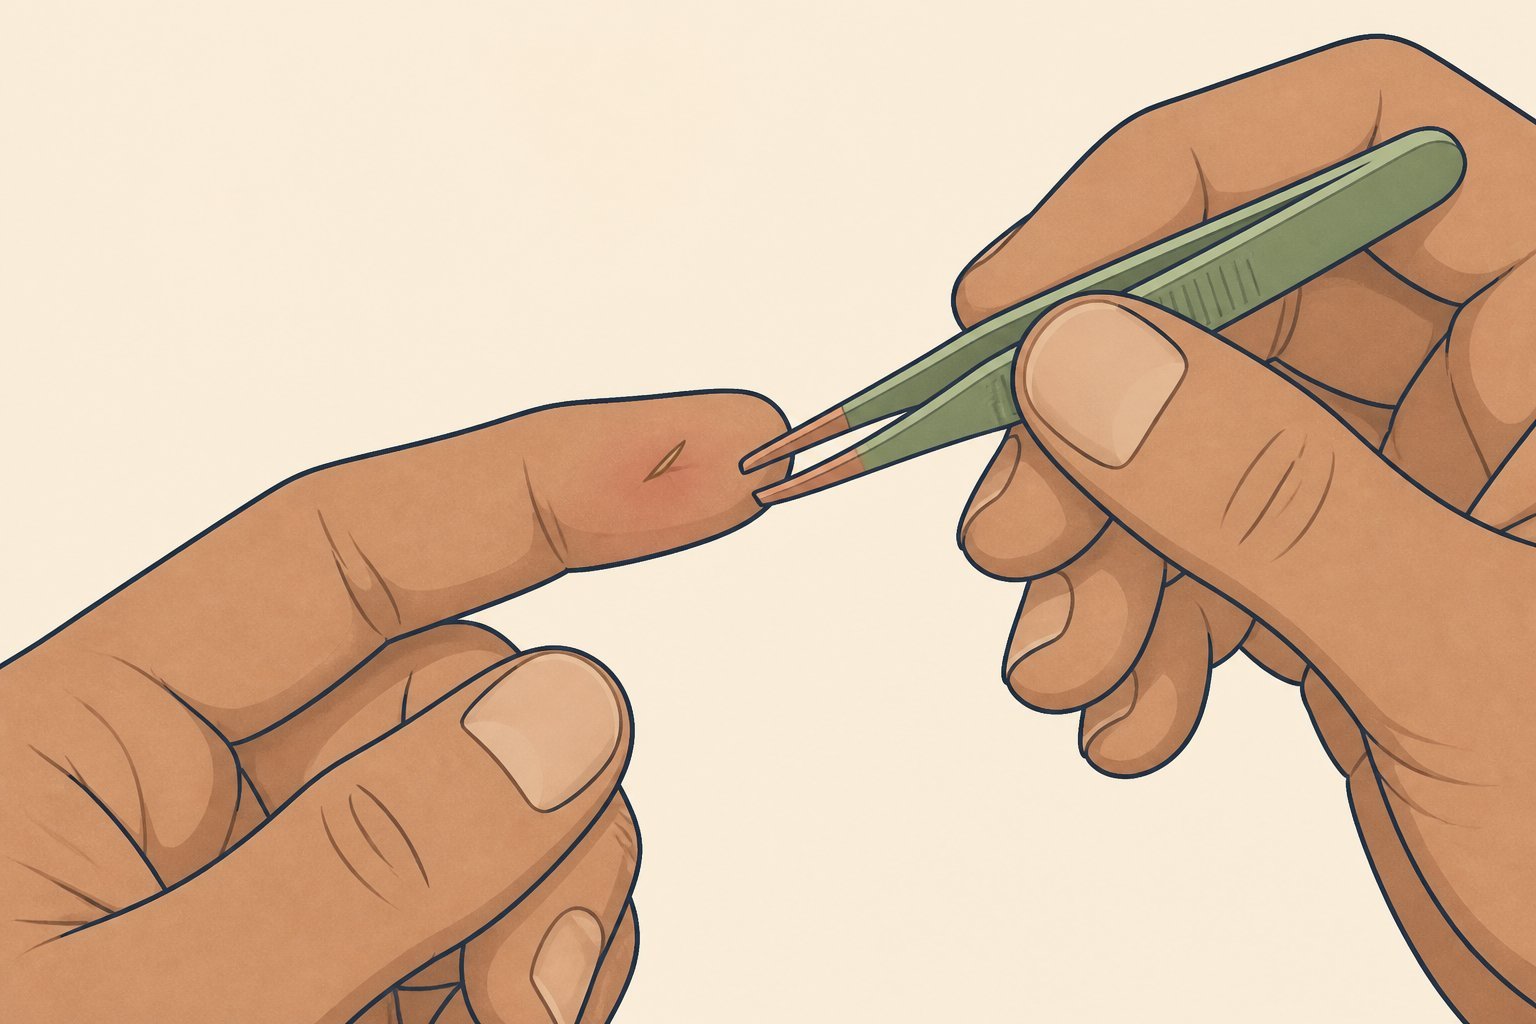
Method 1: Tweezers (The Go-To for Most Splinters)
If one end of the splinter is sticking out above the surface of the skin, tweezers are your best tool.
- Clean and dry the skin around the splinter — tweezers grip better on dry skin.
- Use tweezers to grasp the splinter as close to the skin as possible, right at the tip of the splinter where it exits the skin.
- Pull out the splinter in a slow, steady motion in the same direction it entered.
- Don’t squeeze too hard — that can cause the splinter to break. Firm, even pressure works better than a sudden yank.
Once you pull out the splinter, check that the entire splinter came out. A magnifying glass helps here. Sometimes the tip breaks off and part of the splinter is still lodged inside.
After removal, clean the wound again with soap and water, apply antibiotic ointment, and cover it with a bandage.
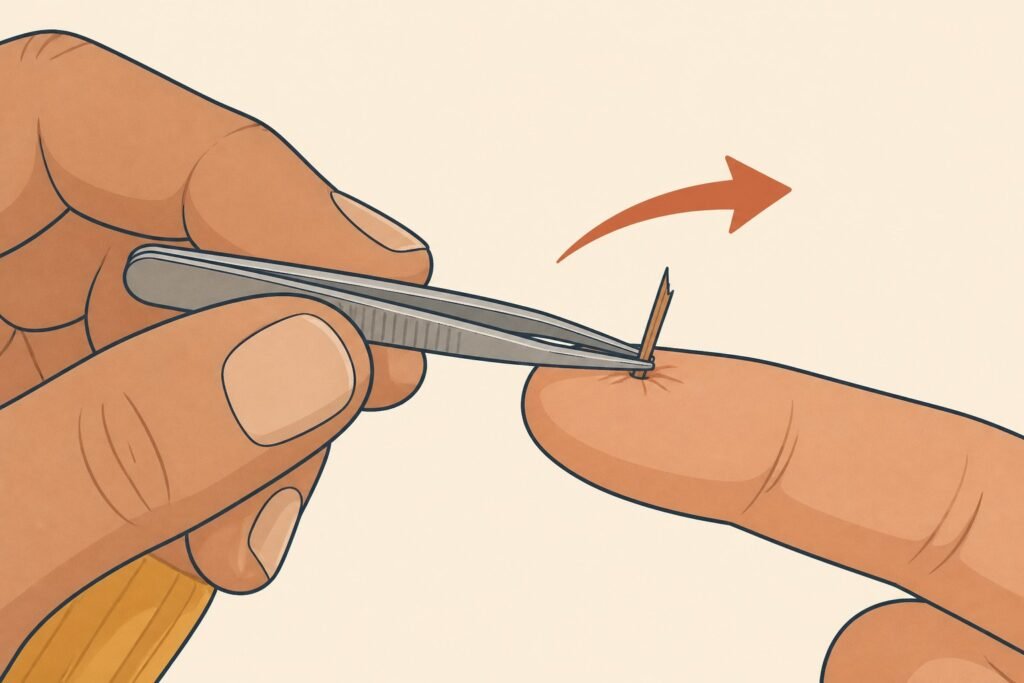
Method 2: Needle and Tweezers (For Embedded Splinters)
When the splinter is deeply embedded with no end poking out, you’ll need to use a sterilized needle to break the skin first.
- Sterilize the needle with rubbing alcohol.
- Use the needle to gently pierce the skin at the closest point to where the splinter entered the skin — right above one end of the splinter.
- Use the needle to gently open the skin along the length of the splinter, exposing enough of it to grasp.
- Once you’ve exposed the tip, use tweezers to pull out the splinter along the entry angle.
- Don’t dig around or push the splinter deeper — short, controlled movements only.
The goal is to bring the splinter closer to the surface so the tweezers can do their job. A needle used correctly doesn’t cause much trauma. A needle used impatiently does.
Method 3: Home Remedies That Actually Help
If the splinter is deeply embedded and you’re not comfortable using a needle, or if you want to soften the skin first, a few home remedies can draw the splinter closer to the surface before you attempt removal.
Baking Soda Paste
Mix a small amount of baking soda with water to form a thick paste. Apply the baking soda paste over the skin over the splinter and cover it with a bandage. Leave it on for 24 hours. The paste can cause the splinter to migrate toward the surface of the skin, making it easier to grasp with tweezers.
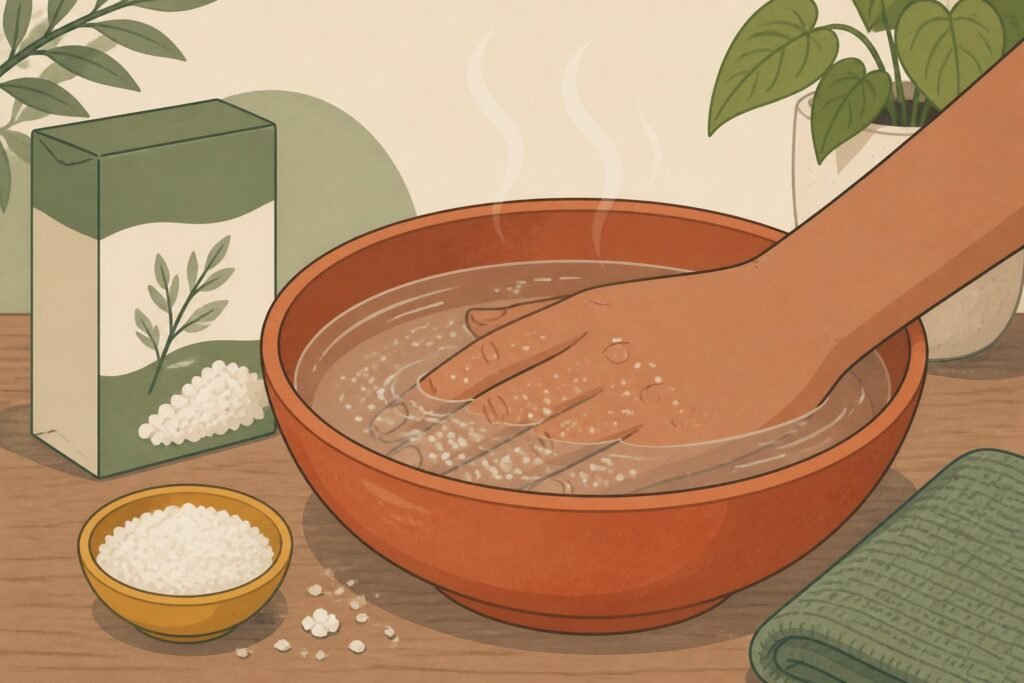
Epsom Salt Soak
Dissolve Epsom salts in warm water and soak the affected area for 10–15 minutes. Soaking salts in warm water softens the skin and can encourage a shallow splinter to work its way toward the surface. This is especially helpful before attempting removal with a needle.
Hydrogen Peroxide
Applying a small amount of hydrogen peroxide to the area around the splinter can help push it upward due to the bubbling action. It also helps prevent infection at the same time.
Duct Tape
For a splinter sticking just at the surface, duct tape can sometimes pull it out without any piercing. Press the tape firmly over the splinter and pull it off in one quick motion opposite to the direction the splinter entered. It won’t work on deeply embedded splinters, but for surface-level cases, it’s worth trying before reaching for a needle.
How to Prevent Infection After Splinter Removal
Getting the splinter out is only half the job. The wound it leaves behind — however small — is still an entry point for bacteria.
Clean and Cover the Wound
Once the splinter has been removed, wash the area with soap and water immediately. Apply antibiotic ointment (like Neosporin) to reduce the risk of infection, then cover it with a clean bandage. Change the bandage daily and keep an eye on the wound for signs of infection.
Watch for Signs of Infection
Check the area over the next few days. Signs of infection include:
- Redness spreading around the wound
- Swelling or warmth in the affected area
- Pus or discharge coming from the wound
- Increasing pain rather than improvement
- Fever
If you notice any of these, see a doctor. An infected splinter can lead to a serious skin infection if left untreated.
Tetanus: When to Think About It
If the splinter was a rusty piece of metal, a thorn, or anything from contaminated soil, check when you last had a tetanus shot. Tetanus is a serious bacterial infection that enters through skin wounds. If you haven’t had a tetanus booster in the past five years and the wound was from a dirty or rusty object, it’s worth contacting your doctor. For clean wounds, tetanus concern is lower — but don’t dismiss the risk entirely, especially in children and older adults.
When to Seek Medical Attention
Most splinters can be safely removed at home. Some can’t, and knowing the difference matters.
Seek Medical Attention If:
- The splinter is deeply embedded and you can’t reach it without significant digging
- It’s a large splinter (longer than half an inch or visibly wide)
- It’s in a sensitive area: near the eye, under a nail, or in a joint
- You’ve tried to remove it and part of the splinter won’t come out
- Signs of infection develop within 24–48 hours of removal
- The person is a child who can’t stay still enough for safe removal
- It’s a foreign body removal situation involving glass or metal — these materials can be difficult to locate without imaging
A doctor has proper tools for foreign body removal and can use a local anesthetic to make the process painless. There’s no prize for toughing it out when professional help is the smarter move.
Special Cases: When Splinter Removal Gets Complicated
Splinters Under a Fingernail
A splinter lodged under the nail is painful and harder to remove. Don’t try to push the splinter out from the nail end — that usually drives it deeper. Instead, soak the finger in warm water for 10 minutes to soften the nail and surrounding skin, then carefully trim the edge of the nail if possible to expose the tip of the splinter. If you can’t reach it safely, see a doctor rather than risk damaging the nail bed.
Splinters in Children
Kids and pain tolerance don’t mix well. A stubborn splinter in a child’s foot or hand is easier to deal with if you soak the area first to soften the skin and reduce sensitivity. Try a baking soda paste or Epsom salt soak first — sometimes it works without any piercing at all. If the child is very young or frightened and won’t stay still, a doctor is the right call. Trying to remove a splinter from a squirming toddler with a needle is how accidents happen.
Splinters from Thorns and Organic Material
Thorns and organic foreign bodies like splinters of wood can break down inside the skin over time — which sounds manageable but actually increases the risk of infection and inflammatory reactions. If a thorn or piece of plant material has been lodged in your skin for more than a day or two, get it out sooner rather than later. These don’t get easier to remove with time.
Quick Reference: Methods to Remove a Splinter
| Situation | Best Method |
|---|---|
| Splinter is sticking out above skin | Tweezers — clean pull along entry angle |
| Splinter is very small and barely visible | Magnifying glass + needle to expose + tweezers |
| Entire splinter is embedded, skin intact | Baking soda paste or Epsom salt soak first, then needle + tweezers |
| Stubborn splinter near the surface | Duct tape or hydrogen peroxide to draw it up |
| Large splinter or near eye/nail | Seek medical attention |
A splinter is a small problem that becomes a bigger one only when it’s handled carelessly — or not at all. Wash your hands, sterilize your tools, be patient, and pull along the angle it entered. Splinters can be safely removed at home the vast majority of the time. Clean up the wound, watch for signs of infection over the next few days, and you’re done.
If it doesn’t come out cleanly on the first or second attempt, stop. A doctor with proper tools can remove it in minutes. That’s a much better outcome than a deeper wound or an infection that spreads.