Table of Contents
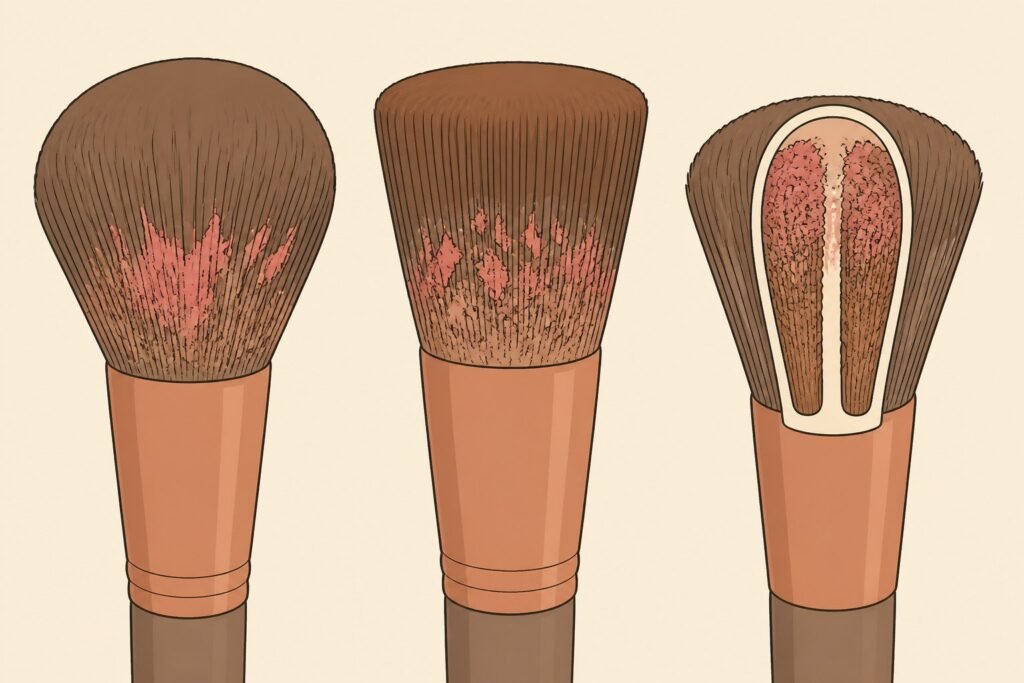
Your makeup brushes are probably dirtier than you think. Old foundation, leftover eyeshadow, accumulated skin oil — it all sits in those bristles until you actually wash it out. And if you’re skipping brush cleaning, you’re not just getting streaky makeup application. You’re pressing last week’s bacteria directly onto your face.
The good news: learning how to clean makeup brushes doesn’t take long, and once you’ve got a system, it becomes second nature. Here’s exactly what to do.
Why You Actually Need to Clean Your Makeup Brushes
Here’s something most people don’t think about: dirty makeup brushes can cause breakouts, skin irritation, and uneven makeup application — all at once.
Makeup artists and dermatologists both agree on this. Brushes collect dead skin cells, product residue, and bacteria with every single use. When you go back in with a dirty brush, you’re transferring all of that back onto your skin. Dirty brushes can also cause the bristles to break down faster, which shortens the life of your brushes significantly.
Regularly cleaning your brushes isn’t just about hygiene. It actually improves how your makeup looks. Clean bristles pick up and distribute pigment more evenly, so your blush, bronzer, and eyeshadow blend the way they’re supposed to.
How Often Do You Need to Clean Your Makeup Brushes?
The short answer: more often than you’re probably doing it right now.
For brushes used daily (foundation, concealer, contour): Ideally, wash your brushes once a week. These are in direct contact with your skin the most, and they carry the most product buildup and bacteria.
For eye brushes: Clean makeup brushes used around the eyes at least every 1–2 uses, especially if you’ve had any eye irritation or infection recently.
For powder brushes: Brushes used for setting powder, blush, or bronzer can go a bit longer between washes — but aim for at least once every two weeks.
If you use your brushes daily and skip weekly cleaning, makeup residue builds up quickly. At that point, even the best brush in your kit starts to perform like a bad one.
What You Can Use to Clean Makeup Brushes
You don’t need a lot. Here’s what actually works:
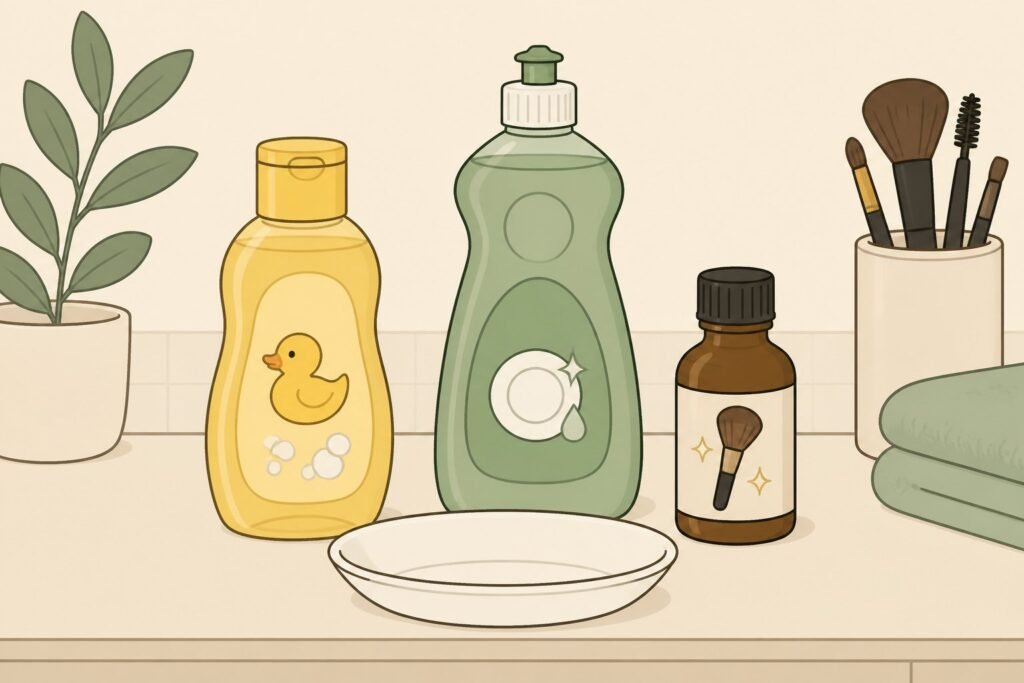
Gentle Shampoo or Baby Shampoo
A classic. Baby shampoo is mild enough to clean the bristles without stripping them, and it rinses out easily. A small drop per brush is all you need.
Dish Soap
For really gunky, product-heavy brushes — especially foundation ones — a tiny bit of dish soap cuts through the buildup fast. Use it sparingly and rinse thoroughly.
Dedicated Makeup Brush Cleaner
A proper makeup brush cleanser is specifically designed to clean brushes without damaging the bristles or the glue that holds the brush head together. These are worth it if you have quality brushes you want to protect.
Cinema Secrets makeup brush cleaner is one of the most popular among working makeup artists. The Cinema Secrets makeup brush cleaner is a liquid formula that cleans and disinfects brushes quickly without water — you just swirl the brush in the liquid, then wipe it on a towel. It’s especially useful when you need to clean brushes fast between looks.
How to Deep Clean Makeup Brushes Step by Step
A deep clean is a full wash with water. Do this for all your brushes at least once a week if you use them daily.
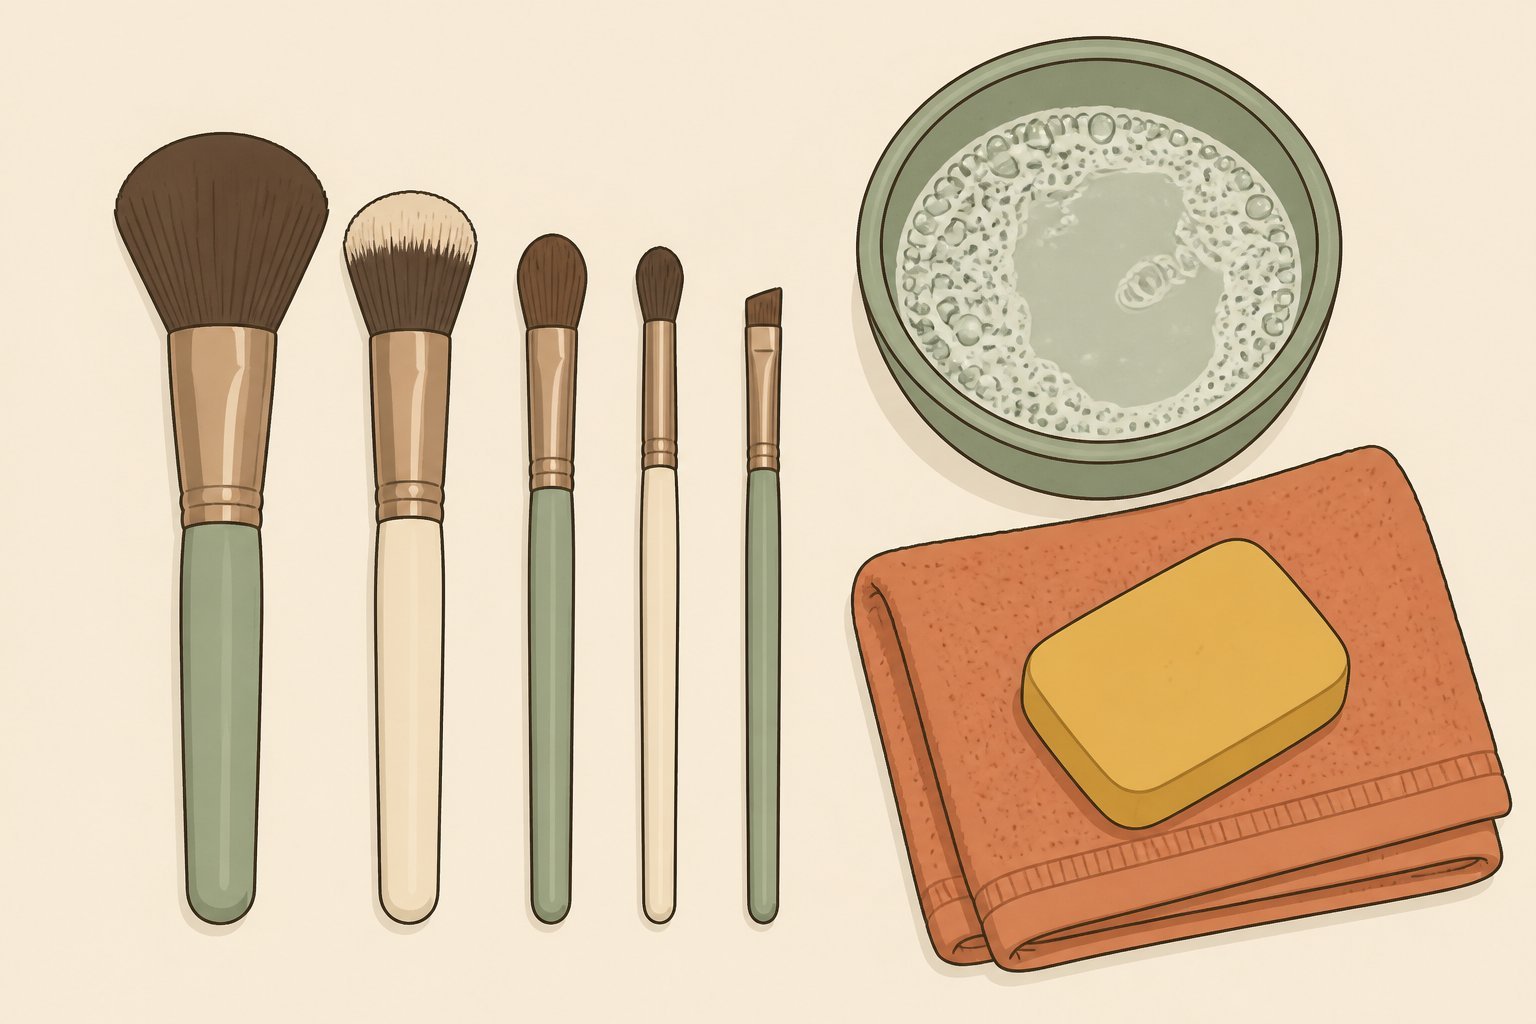
What You’ll Need
- Lukewarm water
- Gentle shampoo, baby shampoo, or dedicated brush cleanser
- A clean towel
- A flat surface for drying
Step-by-Step
- Wet the bristles — Hold the brush head facing down under lukewarm running water. Keep water away from the ferrule (the metal band). Water that gets up into the ferrule can loosen the glue that holds the brush together over time.
- Apply cleanser — Put a small amount of shampoo or brush cleanser into your palm or onto a cleaning mat.
- Swirl the brush — Gently swirl the brush in circular motions in your palm. You’ll see the color coming out immediately. Work up a gentle lather. Don’t scrub too hard, especially with natural hair brushes.
- Rinse the brush — Hold it bristle-down under running water until the water runs completely clear. Press gently to help release stubborn makeup from deep in the bristles.
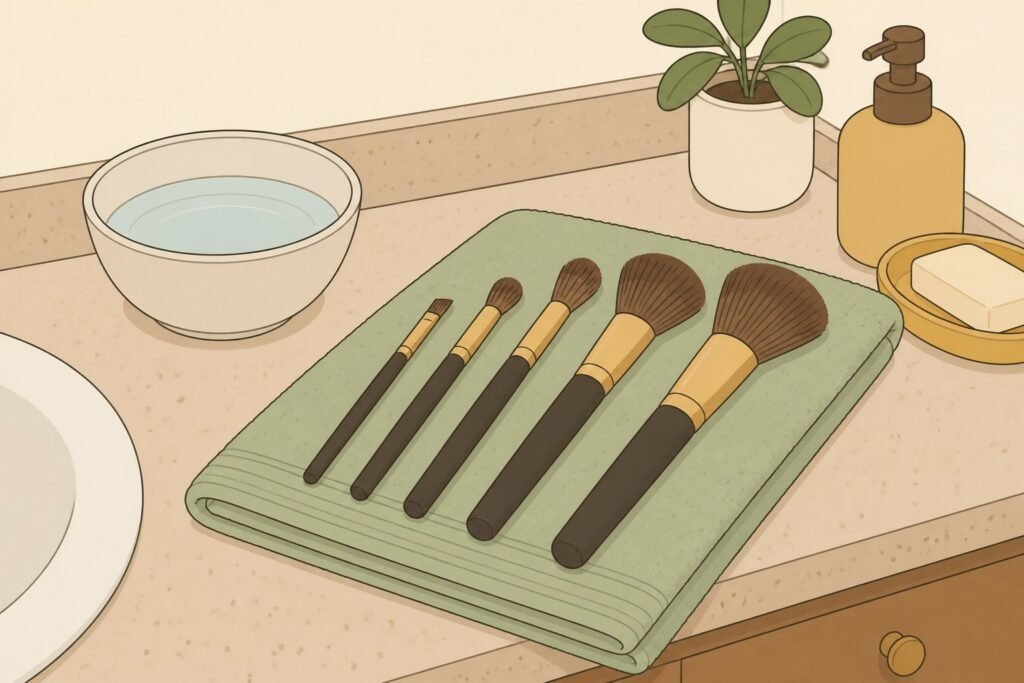
- Squeeze out excess water — Gently squeeze the bristles from base to tip using a clean towel to remove excess water. Reshape the brush head back to its original form.
- Dry your brushes flat — Lay brushes flat to dry on a clean towel. Never dry brushes upright in a cup — water drips down into the ferrule and loosens the glue. Never use a blow dryer on high heat either. Let them air dry overnight.
One important note: don’t leave wet brushes sitting bristle-down on a towel without reshaping them first. Dry brushes that aren’t reshaped before drying can end up with bent, misshapen bristles that won’t go back.
How to Clean Makeup Brushes Quickly Between Uses
Sometimes you need to clean brushes quickly — switching from a deep berry eyeshadow to a pale nude, for example, without stopping to do a full wash.
This is where a fast-drying liquid brush cleaner like Cinema Secrets comes in. Swirl the brush in the cleaner, then wipe it on a clean towel. The residual makeup lifts off in seconds, and the brush is dry enough to use again almost immediately.
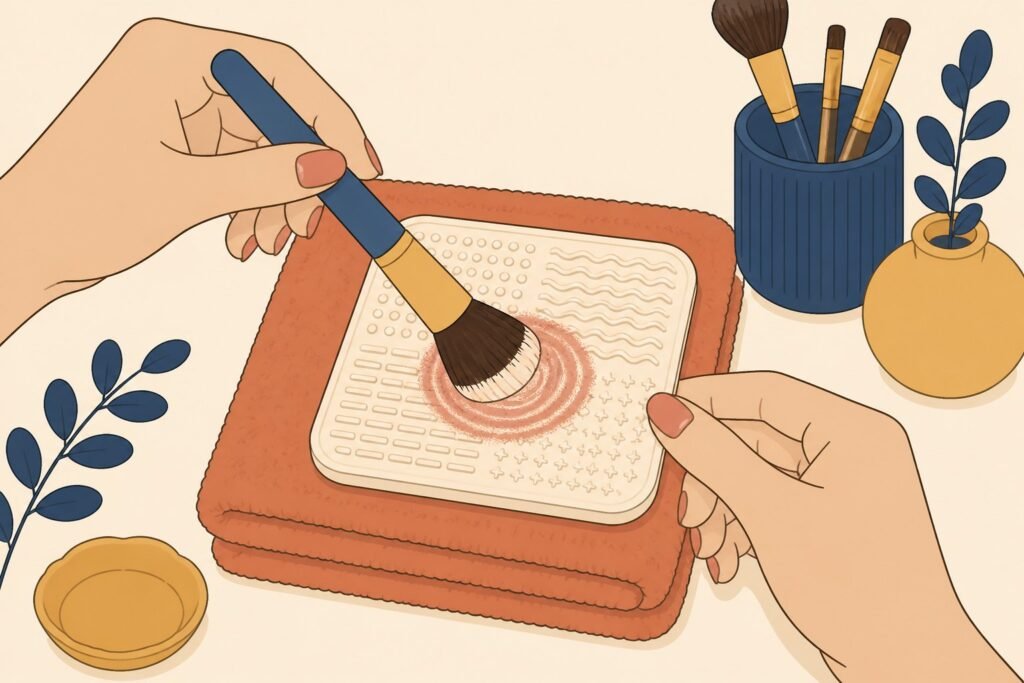
You can also use a dry brush cleaning pad or a textured silicone mat with the same principle — swirl the brush on the pad to knock off loose pigment.
These quick methods are for in-between uses, not a substitute for a proper deep clean. The real grime and bacteria require actual water and soap to fully remove.
The Best Makeup Brush Cleaners Worth Buying
If you’re shopping for a dedicated product, here’s a quick breakdown of what works for different needs:
Best for a thorough clean: A solid or liquid makeup brush cleanser that lathers well — look for formulas free of harsh alcohols if you have natural hair brushes.
Best for speed: Cinema Secrets makeup brush cleaner remains the gold standard for makeup artists who need brushes ready fast. It evaporates quickly and doesn’t require rinsing.
Best budget option: Unscented baby shampoo does the job at a fraction of the price of specialty cleaners. It’s gentle enough for every brush type.
Best for skin-conscious users: Look for a brush cleanser with antibacterial properties if you’re acne-prone or use your brushes daily. Some formulas include tea tree oil or salicylic acid for this reason.
The best makeup brush cleaner for you depends on how often you clean, whether you have natural or synthetic bristles, and whether you prefer wet or dry cleaning methods.
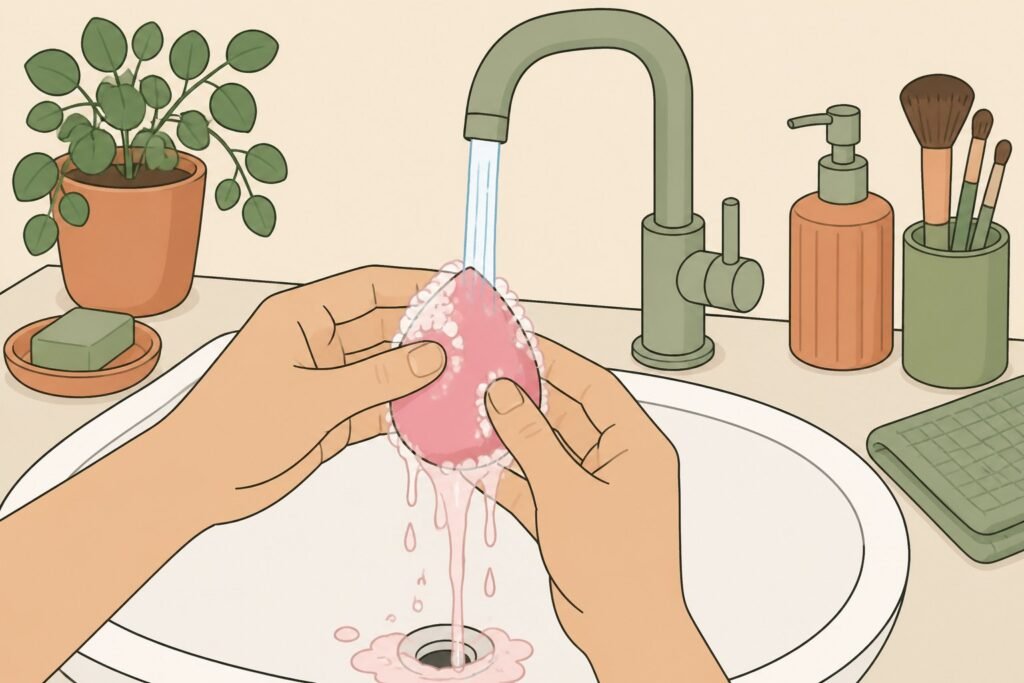
How to Wash Makeup Sponges and Blenders
Brushes and makeup sponges need slightly different treatment. A beautyblender or latex-free sponge absorbs product differently than bristles, so the cleaning process is a bit more hands-on.
To wash your sponge:
- Wet the sponge completely under running water until it’s fully saturated.
- Apply a small amount of soap or brush cleanser and work it into the sponge using a squeezing motion. Don’t twist or wring it — this can cause tearing.
- Squeeze and release under running water until the water runs clear.
- Press between a clean towel and leave to air dry in an open space.
Most makeup sponges should be replaced every 1–3 months depending on how often you use them. If your sponge is stained all the way through, has a musty smell, or has started to break apart, it’s time to replace makeup sponges and start fresh.
Brushes and makeup sponges harbor bacteria in different ways, so don’t skip one just because you cleaned the other.
Common Mistakes That Ruin Your Brushes
Even people who wash their brushes regularly sometimes make these mistakes:
Standing brushes upright to dry. Water runs down into the ferrule and weakens the glue over time. Always lay your brushes flat to dry.
Using hot water. Hot water breaks down the glue faster and can damage natural bristles. Lukewarm water is all you need.
Scrubbing too aggressively. Harsh scrubbing splays the bristles and damages the brush shape permanently. Use gentle circular motions.
Skipping the reshaping step. After rinsing, reshape the brush head before setting it to dry. If you skip this, the bristles dry in whatever bent position they’re in.
Washing and immediately using. Wet bristles won’t apply makeup properly. Clean your brushes the night before if you can, so they’re fully dry by morning.
How to Keep Your Brushes Fresh Between Full Washes
You don’t need to deep-clean every single day to keep your makeup tools performing well. A few simple habits go a long way:
- After using powder brushes, tap excess product off by gently tapping the brush handle against your hand.
- Use a quick-dry spray cleaner between color changes during your makeup routine.
- Store brushes with the bristles up or protected in a brush roll — not stuffed into a crowded makeup bag where the bristles get bent.
- Wash your brushes regularly on the same day each week so it becomes a habit instead of a chore.
Ensure your brushes are fully dry before storing them in any closed container. Trapping moisture is a fast way to grow mold and bacteria in the bristles.
Clean brushes make a real difference — in your skin, in your makeup application, and in how long your tools actually last. You don’t need a complicated routine. Pick one day a week, spend ten minutes, and wash your brushes. Your future skin will thank you.